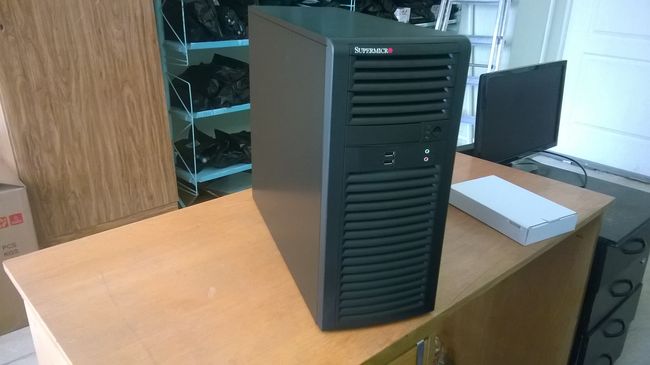
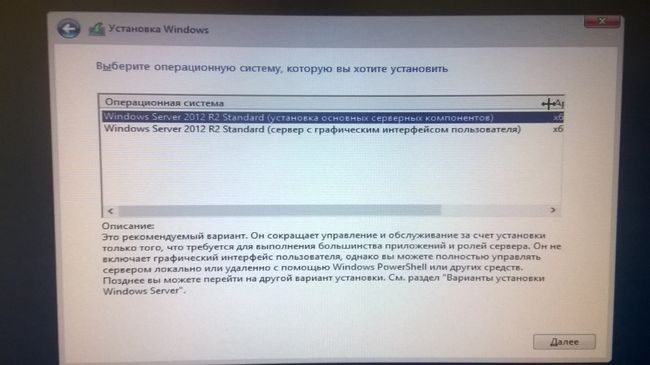
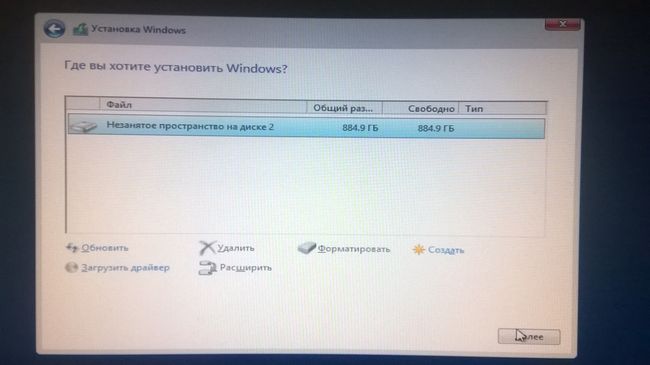
В предыдущей статье описание подключения и установки сервера.
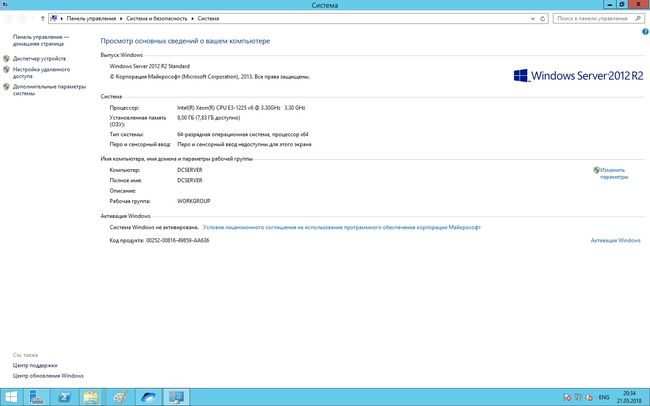
Нужно отметить, что контроллер домена в нашей сети до этого момента уже существовал на виртуальной машине. Задача состоит в том, чтобы настроить контроллер домена на реальной машине, сделать его вторым резервным, затем передать ему полномочия главного контроллера и отключить (демонтировать) виртуальную машину. Так же за одно осуществится перенос контроллера домена с Windows Server 2008 R2 на более новый Windows Server 2012 R2. Приступим.
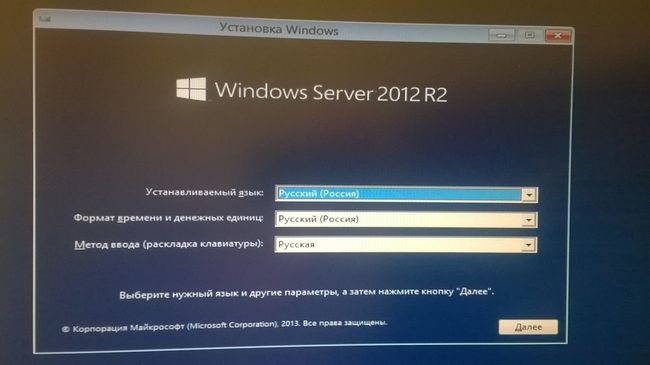
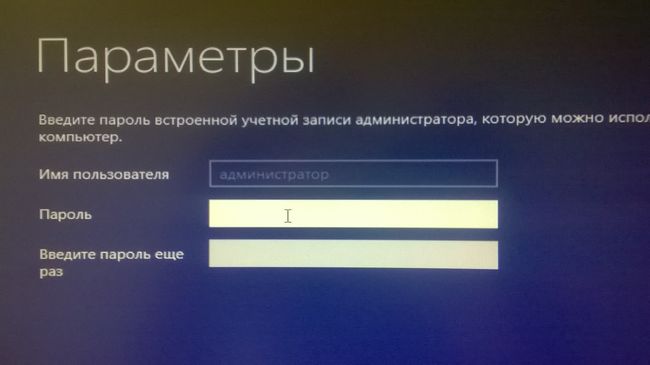
Сразу после установки Windows Server 2012 R2 и авторизации под учетной записью администратора на экране открывается приложение «Диспетчер серверов» и предлагает нам настроить сервер. Если он не открылся или случайно закрылся, то найти его можно на панели задач внизу слева.
Нажимаем добавить роли и компоненты.

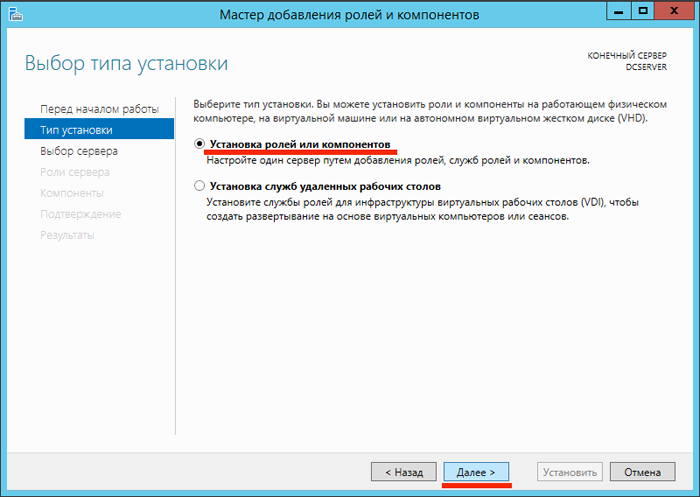
Установка ролей и компонентов >> Далее.
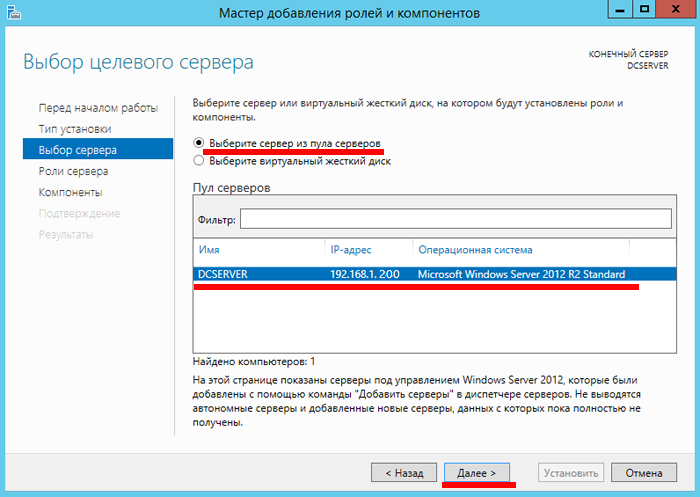
Выбираем наш сервер >> Далее.
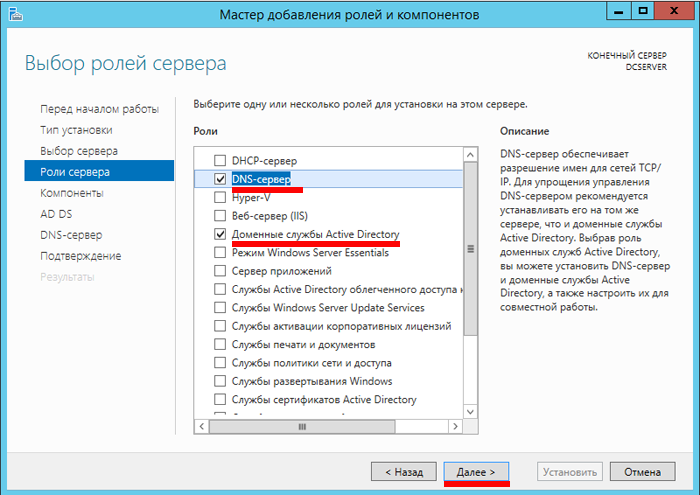
В качестве ролей сервера выбираем DNS-сервер и Доменные службы Active Directory. Как правило, DHCP-сервер идет третьим вместе с двумя предыдущими ролями, однако у нас в сети он не задействован по причине местных обстоятельств.
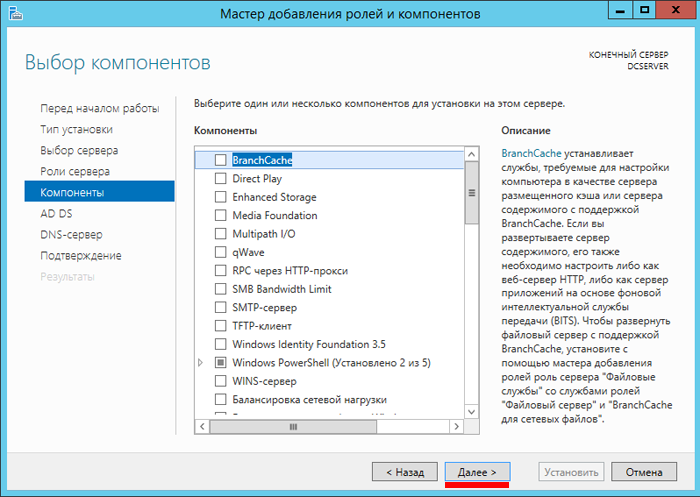
В разделе «Компоненты» оставляем всё без изменения >> Далее.
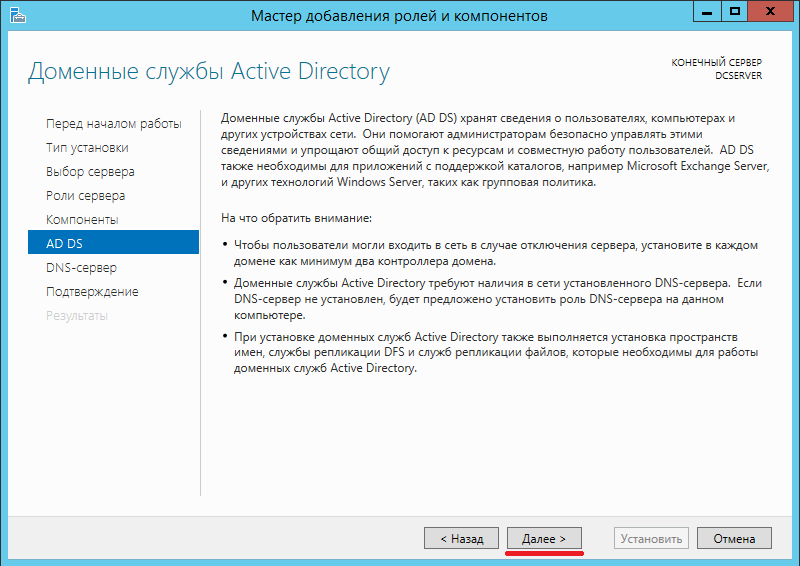
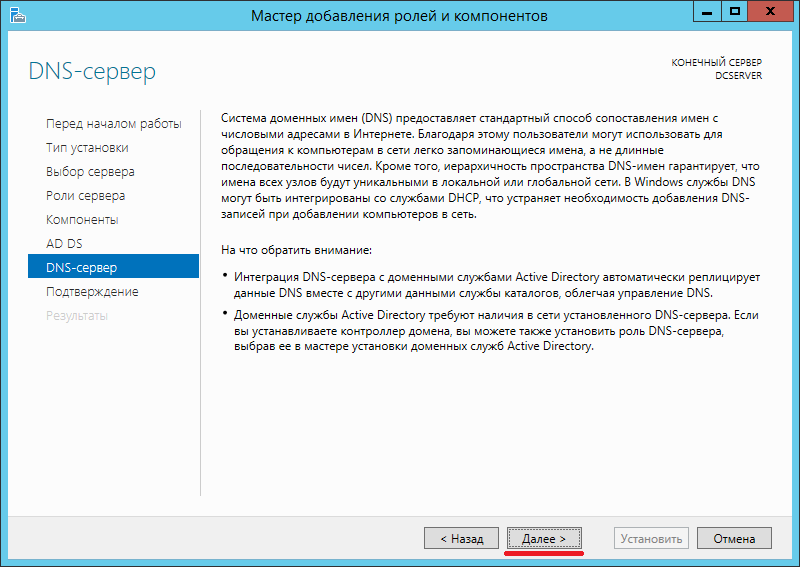
Читаем об службах, которые мы добавляем >> Далее.
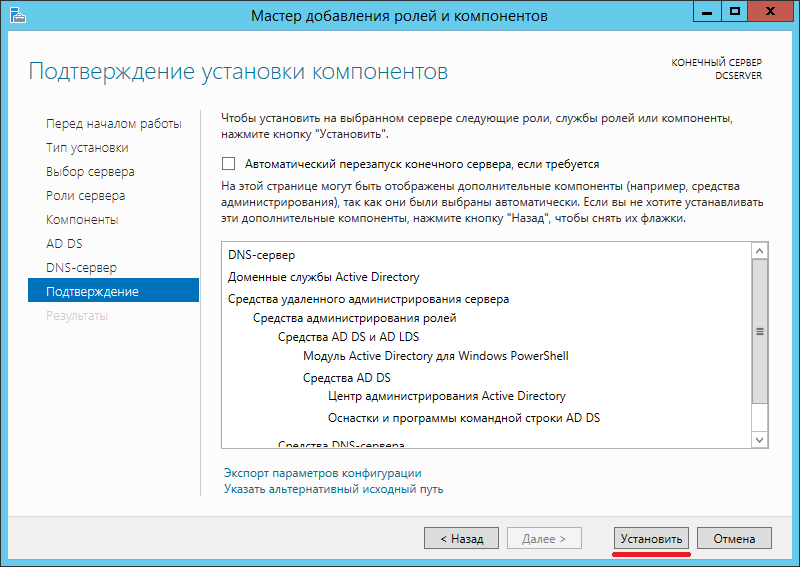
Подтверждаем выбор и нажимаем >> Установить.
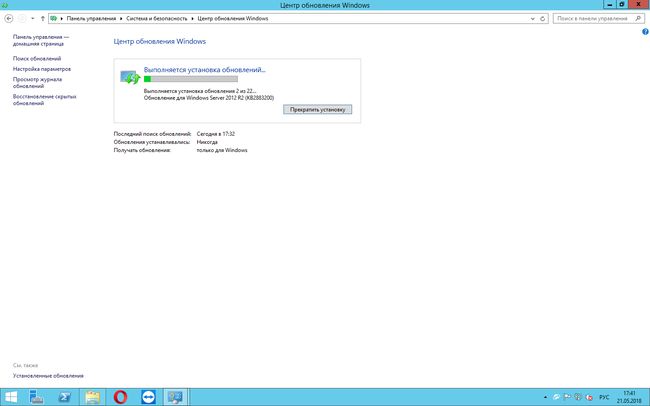
Ждем пока идет установка.
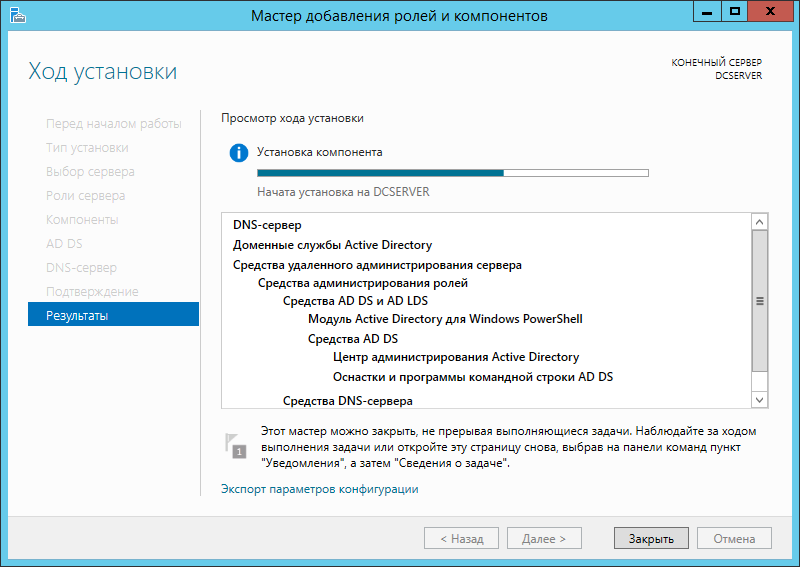 После установки в диспетчере серверов появятся AD DS и DNS.
 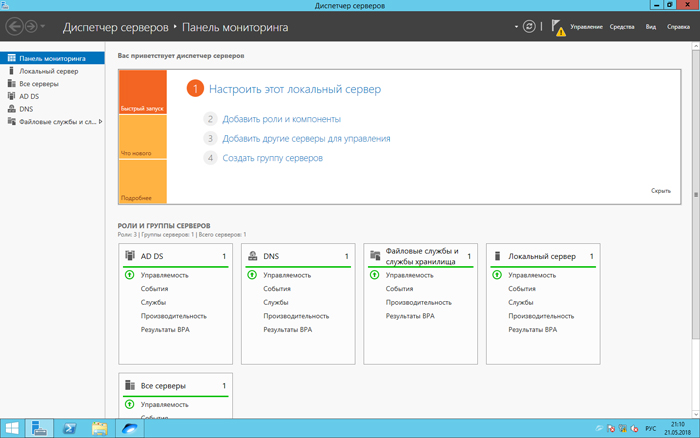 Нажимаем на флажок с предупреждением в верхней части окна и выбираем надпись – Повысить роль этого сервера до уровня контроллера домена.
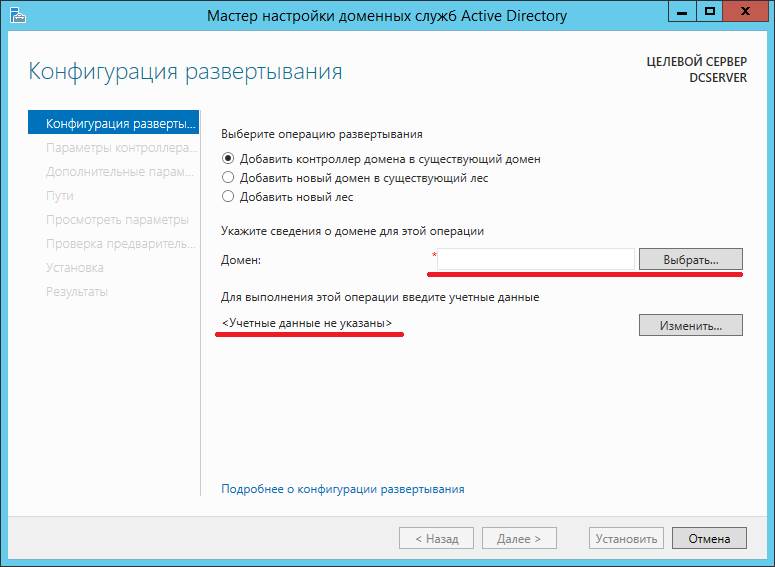
Откроется мастер настройки доменных служб Active Directory. При выборе операции развертывания отмечаем пункт: Добавить контроллер домена в существующий домен.
Вводим название нашего домена, учетные данные и получаем ошибку – Не удалось связаться с контроллером домена Active Directory для домена «SCRB». Убедитесь что доменное имя DNS введено правильно.
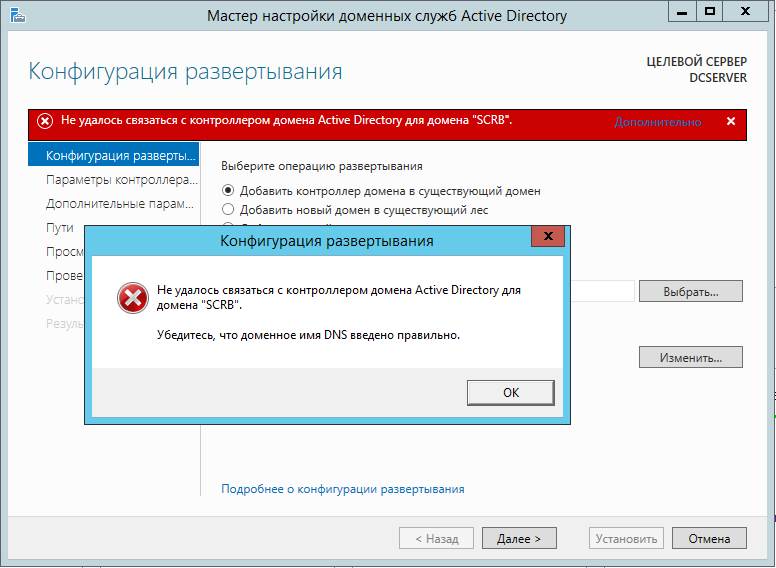
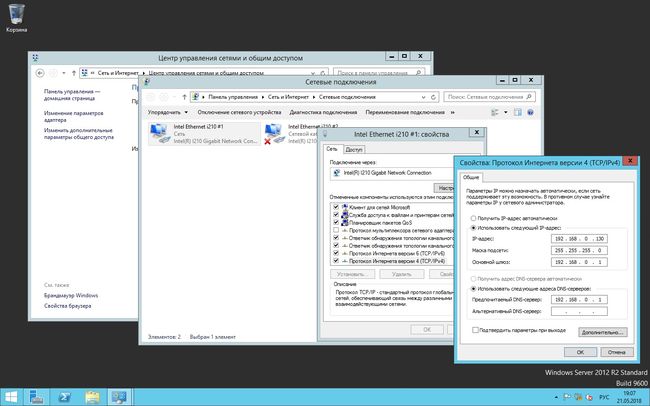
Переходим в настройки сети и в свойствах TCP/IP проверяем, какой введен DNS. DNS-ом должен быть IP-адрес действующего контроллера домена, у нас это 192.168.1.130 (было прописано что-то другое).
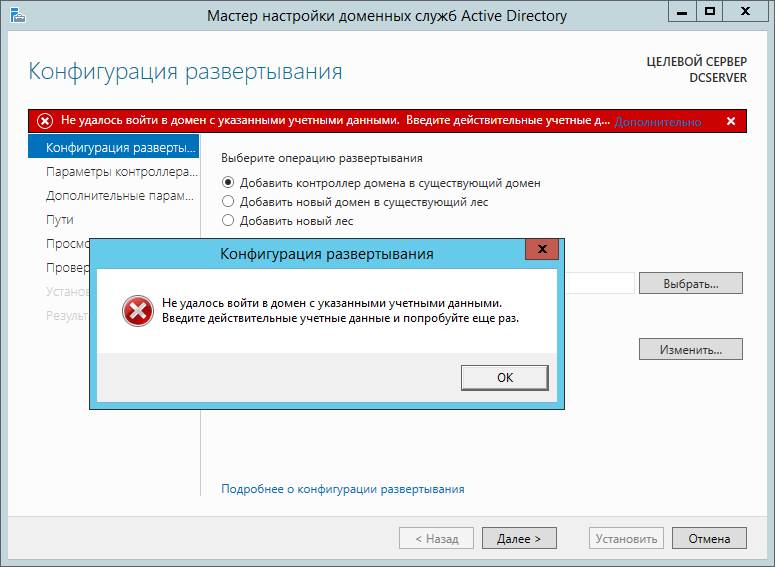
Снова пробуем указать сведения о существующем домене. На сей раз ошибка другой тематики – Не удалось войти в домен с указанными учетными данными. Введите действительные учетные данные и попробуйте еще раз.
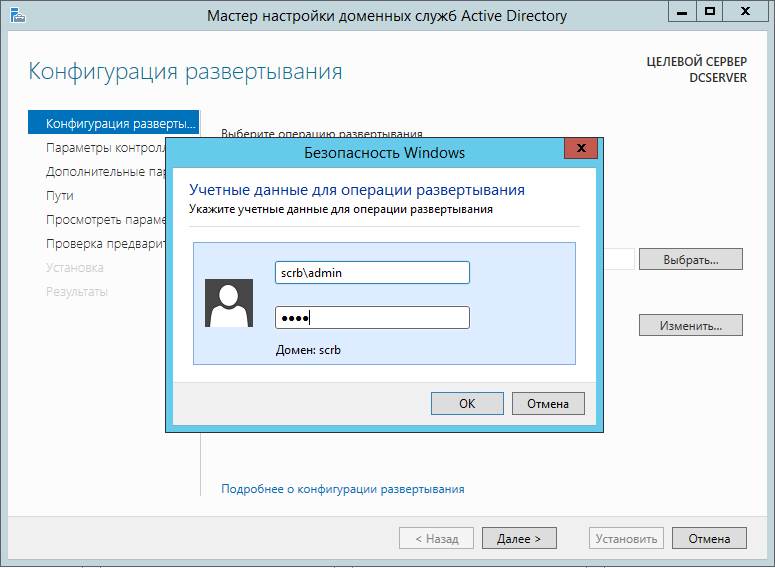
На самом деле я часто подсматриваю настройки на сайте первоисточника Microsoft. Насчет авторизации там написано, что нужно использовать учетную запись с правами администратора действующего домена.
Значит, применим эту учетную запись.
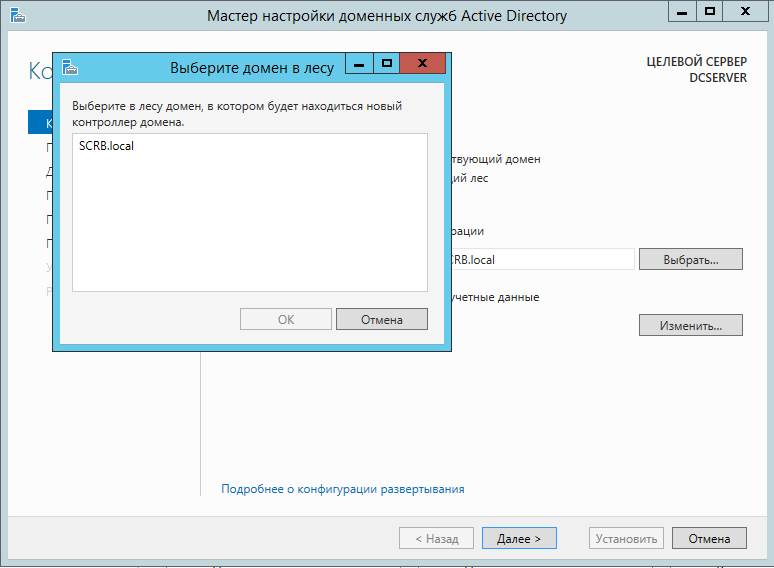
Когда все настройки введены правильно, при вводе домена можно нажать на кнопку «Выбрать» и наш действующий домен появится в списке. Выбираем его.
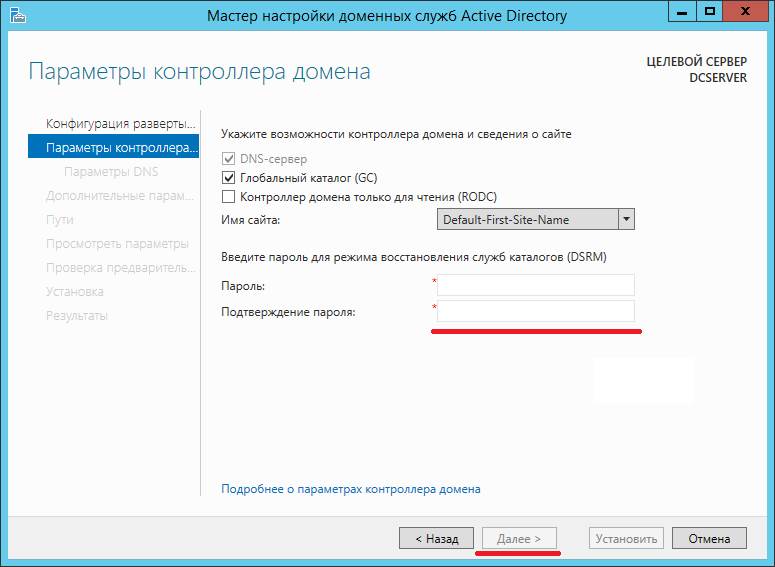
На следующем пункте вводим пароль из цифр и букв разного регистра>> Далее.
 Следующим пунктом значатся параметры DNS. Оставляем их пока что без изменений. Жмем >> Далее.
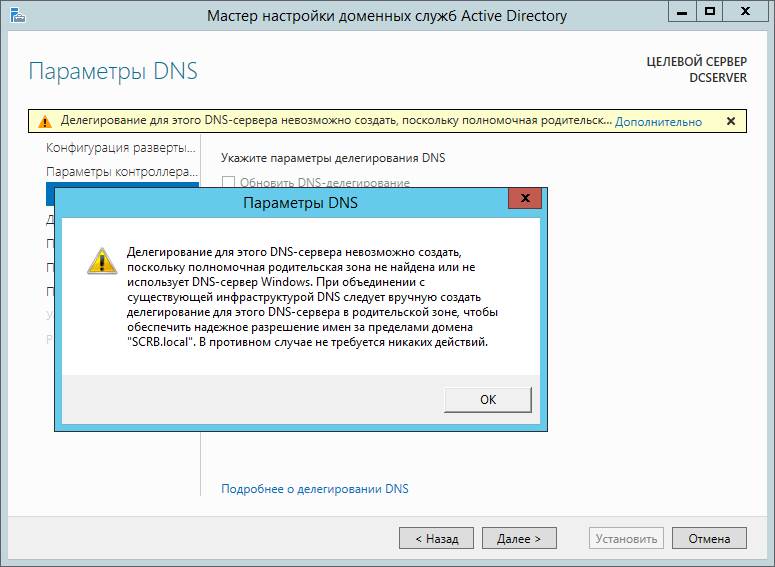
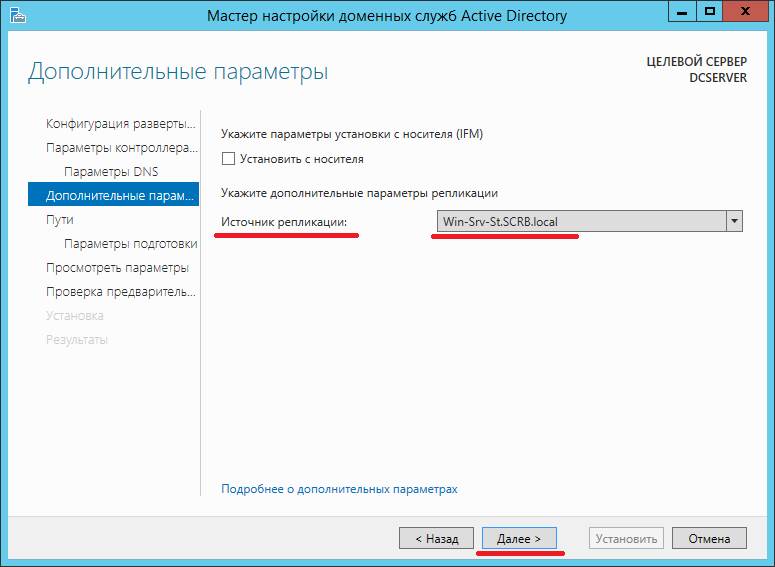
Указываем источник репликации – действующий контроллер домена. Репликация это восстановление (синхронизация) данных Active Directory одного контроллера домена на других. Когда работает репликация изменения в одном контроллере домена (допустим создание нового пользователя) через некоторое время переносятся и во все остальные.
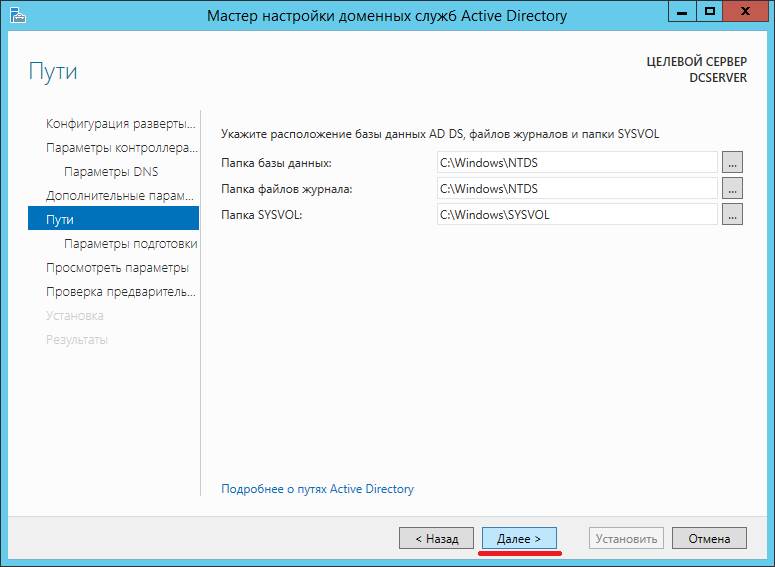
Расположение баз данных AD и файлов оставляем без изменения.
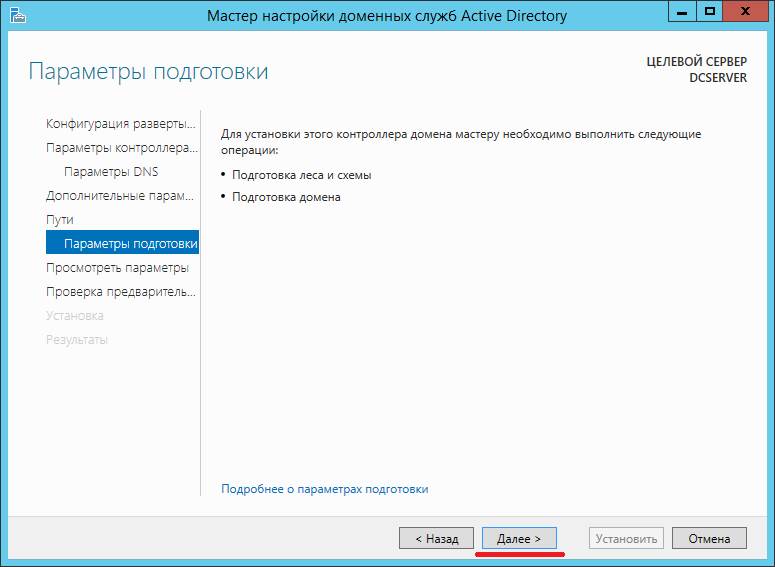
Параметры подготовки >> Далее.
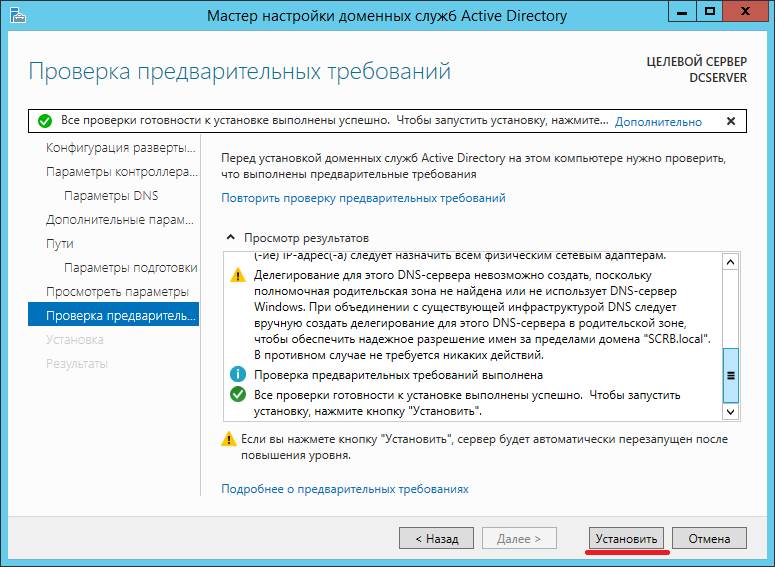
 Предоставляется последний шанс проверить параметры. Проверяем, жмем – Далее. Начнется проверка предварительных требований.
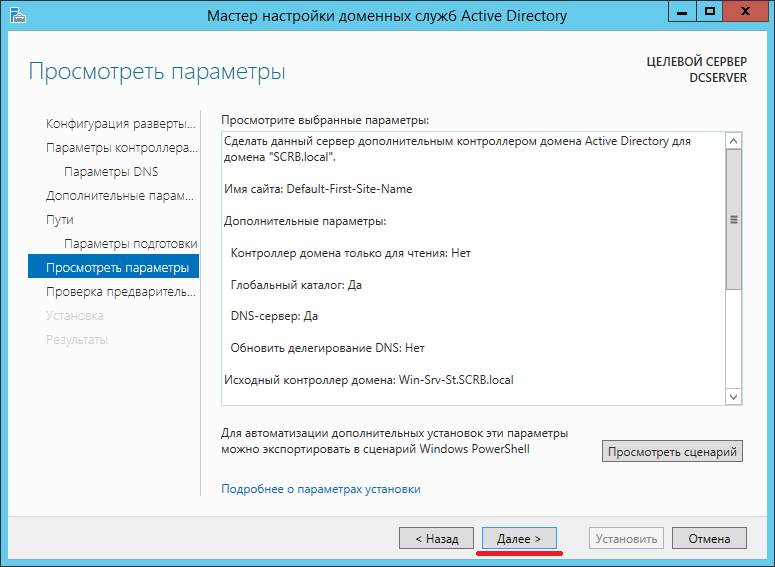
Нажимаем – Установить.
 После установки и перезагрузки автоматически начнется репликация. Для того, чтоб в этом убедиться, переходим в Диспетчер серверов >> AD DS. Нажимаем правой кнопкой мыши на наш контроллер домена DCSERVER и выбираем пункт меню – Пользователи и компьютеры Active Directory.
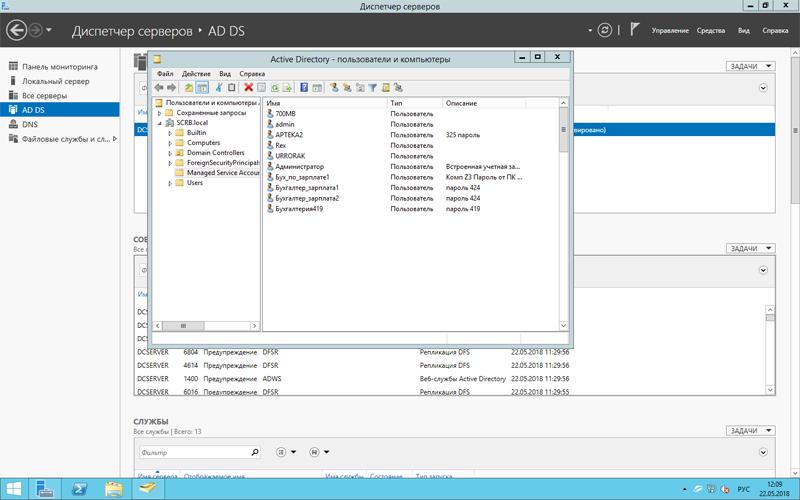
 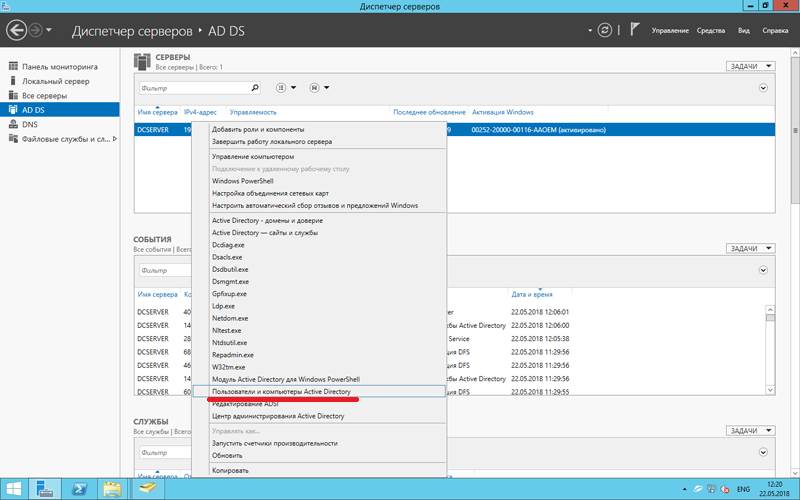 Откроется оснастка и в директории Managed Service Accounts мы начинаем узнавать знакомых пользователей. Всего в домене у нас пока что около 70 пользователей. Все они со временем появились.
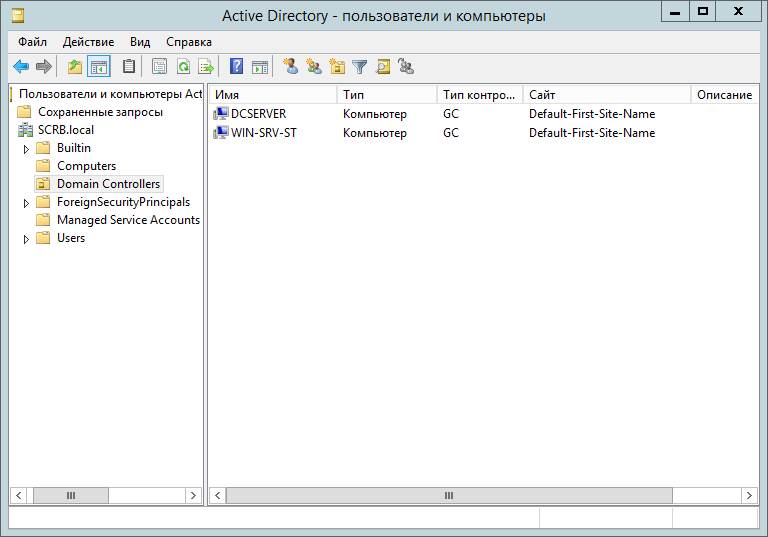
Если зайти в директорию контроллеров доменов, то можно увидеть что их теперь два.