Всем привет!
До 21 апреля осталось чуть больше недели, чтобы оптимизировать свой сайт под мобильные устройства. За это время вряд ли получится у программиста заказать и получить готовую мобильную версию для сайта, да и не у всех могут быть деньги на это. В этой статье я расскажу, как сделать мобильную версию сайта с помощью плагина WPtouch Mobile Plugin.
Как проверить оптимизирован ли сайт для мобильных устройств и как он отображается на устройствах с различным расширением экрана, читайте по ссылке https://inetsovety.ru/proverka-optimizatsii-sayta-pod-mobilnye/
Как сделать мобильную версию WordPress сайта
С помощью плагина WPtouch Mobile Plugin даже новичок сможет сделать мобильную версию для своего WordPress сайта, если установленный шаблон не адаптивный. Не смотря на то, что плагин имеет две версии бесплатную и платную, базовой версии вполне достаточно для среднего сайта. В том случае, когда у вас крутой сайт, который приносит нормальный доход, для него лучшим решением будет заказать программистам мобильную версию, а не покупать Про версию WPtouch за 59 долларов.
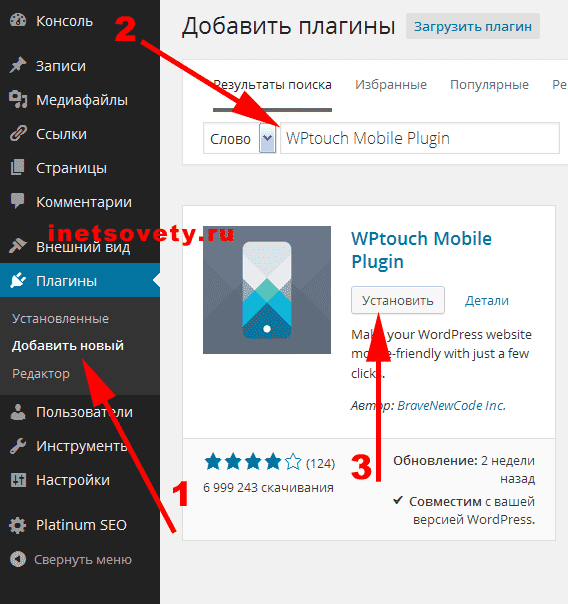
Установка плагина стандартная. В строку поиска вводим название WPtouch Mobile Plugin и устанавливаем его. На этом скрине смотрите пошаговые действия по установке:
Как только вы активировали плагин, у сайта появилась мобильная версия. Проверка удобства просмотра на мобильных устройствах от Гугла показывает «Отлично! Страница оптимизирована для мобильных устройств». Больше можно ничего не делать. Все работает. Зайдите на свой сайт со своего телефона и посмотрите.
Для тех, кто желает покопаться в настройках, а также добавить рекламу в плагин WPtouch, рассмотрим его функционал более подробно.
Как настроить плагин WPtouch
В админке в левой колонке появился пункт WPtouch.
Первый подпункт «Что нового», можно не смотреть. В нем на английском рассказывается о новых обновлениях и улучшениях в плагине, которые вносят его разработчики.
Второй подпункт «Базовые настройки». Он имеет две вкладки: «общие» и «совместимость». На вкладке «общие» можно изменить название сайта, выбрать начальную страницу, отключить ссылку переключения к полной версии. Настройки на вкладке «совместимость» нам не интересны, только пользователи Про версии могут выбрать, какие плагины будут загружаться с мобильной версией, а также добавить шорткоды.
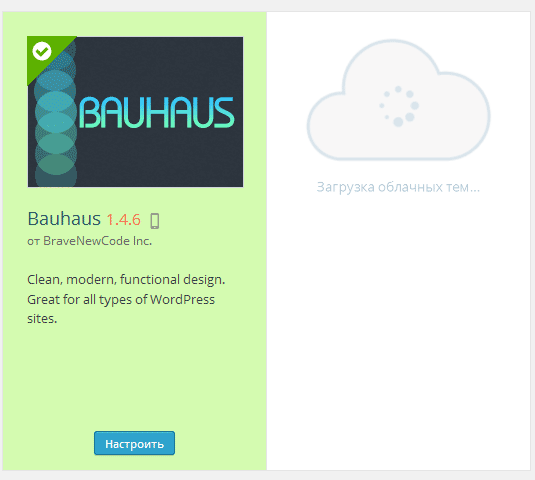
Третий пункт – «Темы и расширения». Здесь нам делать нечего. В бесплатной версии есть только одна тема – Bauhaus, а из расширений вообще ничего не доступно.
Идем дальше. Четвертый подпункт – «Параметры темы». Он имеет аж 5 вкладок «Общие», «Фирменная символика», «Закладка пиктограмм», «Режим веб-приложения», «Реклама».
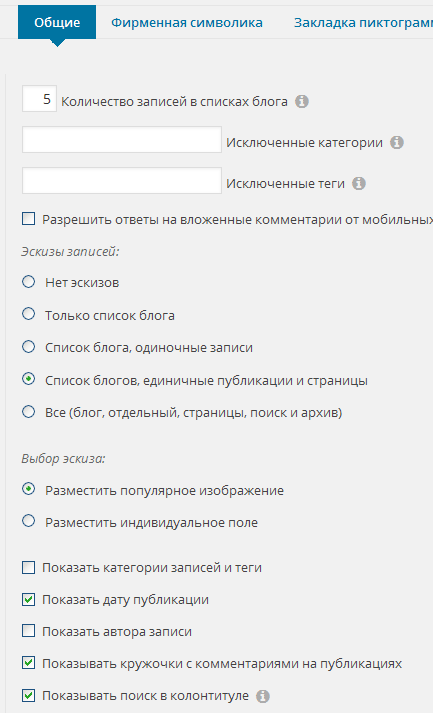
На первой вкладке «Общие» обратите внимание на следующие настройки: вывод количества записей, поэкспериментируйте с эскизами, выберите какие элементы показывать (комментарии, слайдер). К сожалению, для бесплатной версии не доступен вывод блока похожих записей. На вкладках «Фирменная символика» и «Закладка пиктограмм» можно изменить цвета и эмблемы темы.
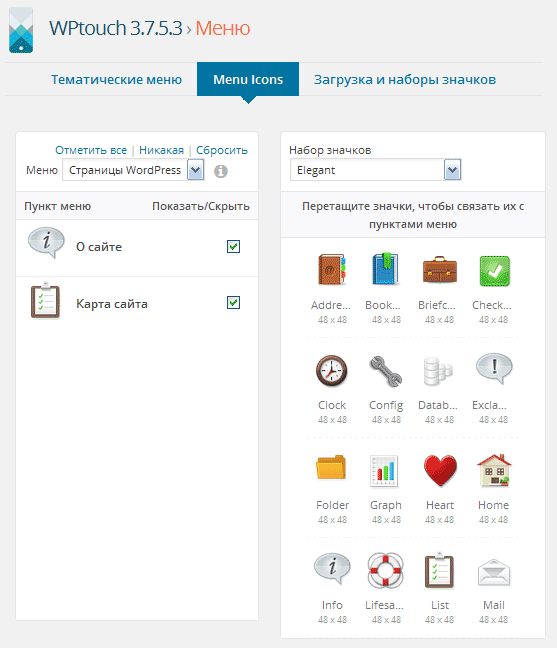
В четвертом пункте «Меню» выберите, какие страницы меню показывать, а какие нет. К каждой странице можно добавить значки:
Как вы заметили, в бесплатной версии нельзя добавить рекламу, которая будет отображаться на мобильном. Это ограничение можно обойти, добавив в файл темы рекламный код. Минус у этого способа следующий – при обновлении плагина рекламные коды нужно добавлять заново.
Хочу обратить ваше внимание на то, что для телефона нужно создавать рекламные блоки своего формата. В Адсенс есть стандартный блок 320*100. Можно создать свой с шириной 320, а высотой 300. Поэкспериментируйте и посмотрите результат.
В случае с тизерной рекламой, можно создать блок шириной все те же 320 пикселей. А в нем расположить 3 объявления в столбец с размером картинки 50*50. Смотрится отлично. Еще я добавила ссылку «читать далее», которая выводится справа от тизера.
Как вывести рекламу на мобильном в начале и конце статьи
Теперь объясню куда же добавлять коды. В бесплатной версии плагина WPtouch есть всего одна тема Bauhaus. Зайдем в папку с ней по следующему пути сайт.ru/public_html/wp-content/plugins/wptouch/themes/Bauhaus/default
И вы увидите список файлов, которые отвечают за отображение сайта на мобильных устройствах:
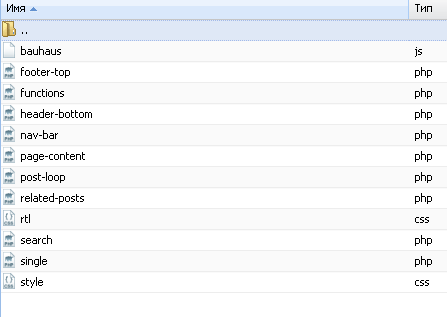
Нас интересует файл single.php. В него мы и будет добавлять коды.
Первый блок Адсенс 320*100 я добавила после вывода миниатюры, сразу после этого кода:
<div class="post-page-thumbnail">

<?php the_post_thumbnail('large', array( 'class' => 'post-thumbnail wp-post-image' ) ); ?>

</div>
Добавить рекламу после кнопок соцсетей мне не удалось, если вы найдете решение, напишите в комментариях.
Второй блок Адсенс 320*300 в конец поста, перед кодом:
<?php get_template_part( 'related-posts' ); ?>
А код тизерки перед выводом комментариев:
<?php if ( comments_open() || wptouch_have_comments() ) { ?>
Чтобы посетители из мобильных устройств засчитывались в статистике, добавьте коды счетчиков в этот файл. Я не нашла лучшего места и добавила код перед строкой:
<?php get_footer(); ?>
Вот собственно и все. Не забывайте, рекламу придется добавлять заново после обновления плагина. Сохраните себе на компьютер этот файлик с рекламными кодами.
Жду ваших комментариев.