Термин Экран администрирования используется для описания различных разделов в панели администратора WordPress. Причина использования термина экрана, а не страницы, чтобы не допустить путаницы пользователей, экрана администратора из страниц (типы постовых), которые могут быть созданы, отредактированы и удалены пользователями.
Экраны администрирования имеют горизонтальную строку меню на верхней и вертикальной панели меню на левой стороне. Верхняя панель или панель администратора имеет быстрые ссылки на различные задачи администрирования и пользователей. Верхняя панель содержит сводную информацию о таких вещах, как комментарии и может показать полезные ссылки из установленных плагинов, наряду с именем сайта и ссылки на домашнюю страницу. Вы также можете видеть панель дисплея администратора на передней части вашего сайта. Не волнуйтесь, панель видна только вам, а не вашим пользователям. Боковая панель администратора слева имеются вкладки для различных административных экранов в WordPress. Большинство этих вкладок имеют меню подменю называемые суб-панелями.
С экранов администрирования, пользователи могут управлять только о аспекте WordPress хватает только редактирования кода PHP. Экран аналогичен для пользователей, а также администраторов сайта. Параметры для администраторов сайтов намного более расширен, и они имеют доступ по всему, а учетные записи пользователей имеют доступ только к своим собственным параметрам профиля, и, в зависимости от уровня доступа пользователя, они могут также иметь возможность создавать, редактировать и удалить посты, а также публиковать или сохранить их в виде проекта. Кроме того, пользователи могут редактировать файлы шаблона и код CSS для шаблона веб-сайта, настроить такие вещи, как шрифты, цвета и другие параметры форматирования, найденные в файлах шаблонов. Плагины настройки и опции также отображаться в левой панели для многих плагинов.
Дополнительная литература
2016-09-16T17:10:09
Глоссарий
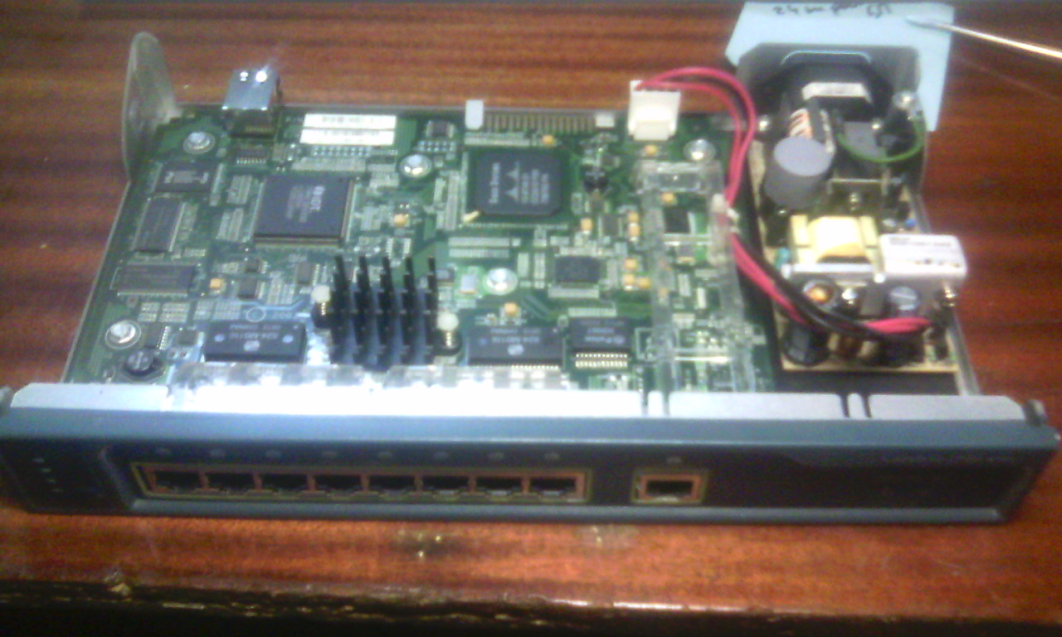
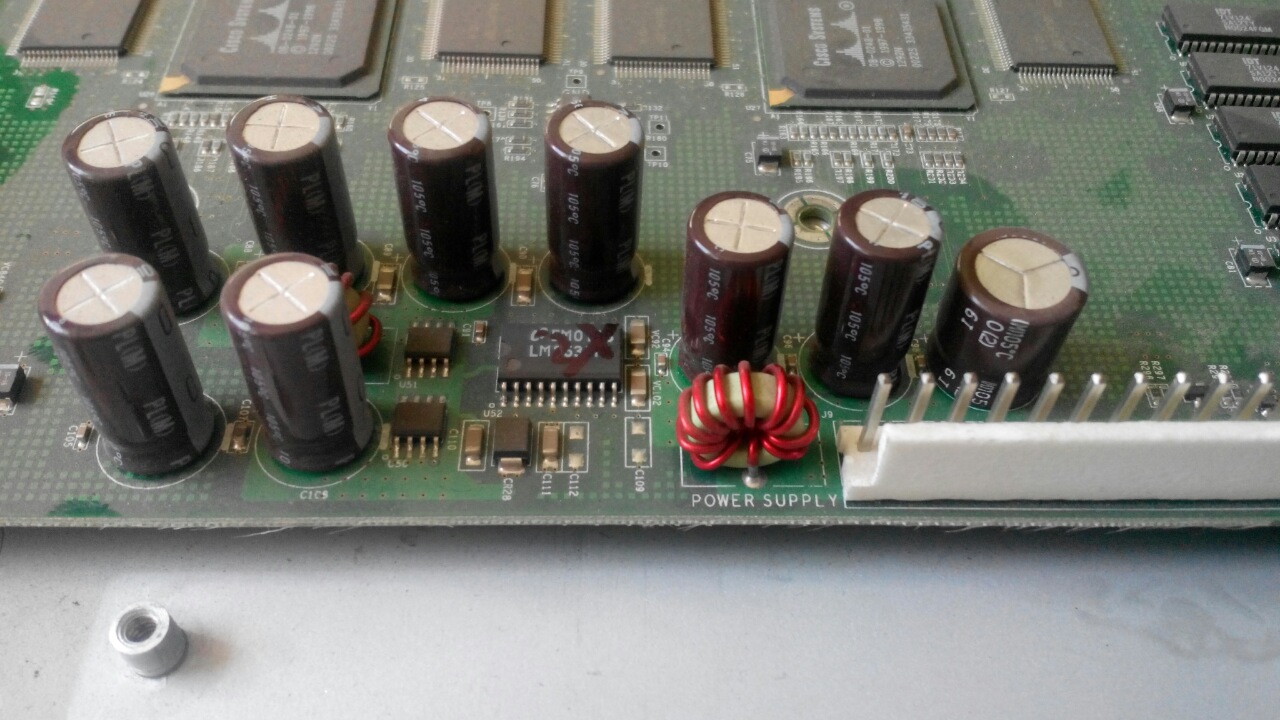
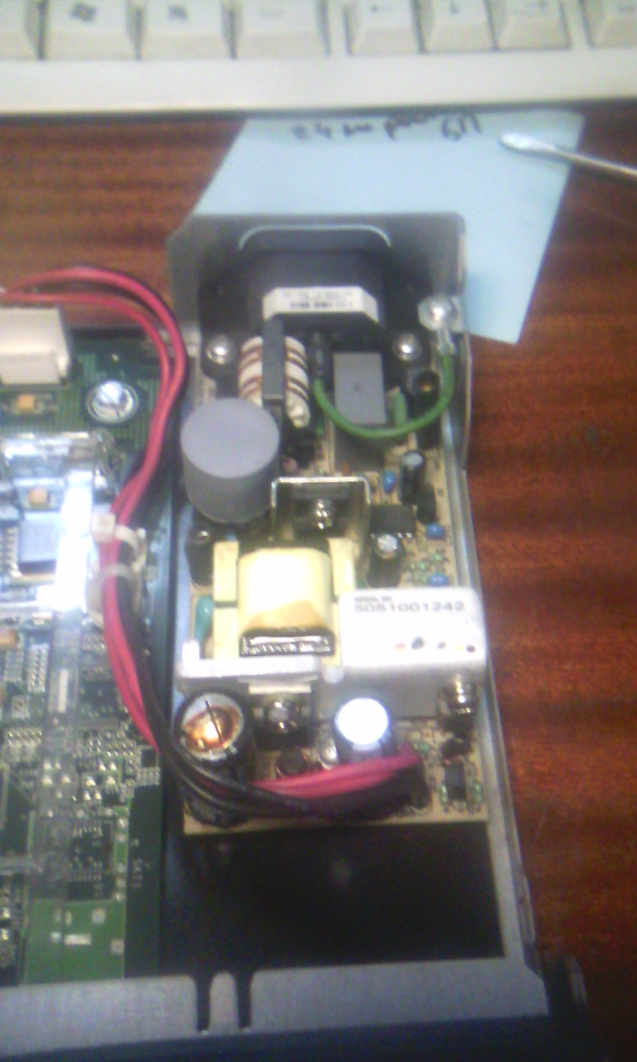 1. Из более 50шт. провереных свичей – у 24 штук оказались нерабочие БП.