Хотите использовать VPN? Если вы ищете поставщика VPN или настроили свой собственный VPN, вам нужно выбрать протокол. Некоторые поставщики VPN могут даже предложить вам выбор протоколов.
Это не последнее слово по любому из этих стандартов VPN или схем шифрования. Мы пытались сравнить все, чтобы вы могли понять стандарты, как они связаны друг с другом — и которые вы должны использовать.
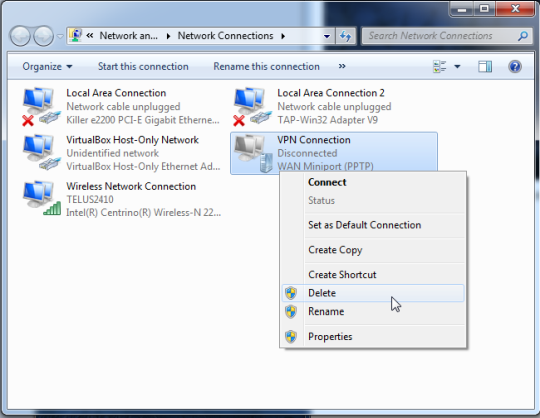
PPTP
Не используйте PPTP. Протокол туннелирования «точка-точка» является распространенным протоколом, поскольку он был реализован в Windows в различных формах с Windows 95. PPTP имеет много известных проблем безопасности, и, скорее всего, NSA (и, вероятно, другие разведывательные агентства) расшифровывают эти якобы «безопасные», соединения. Это означает, что нападавшие и более репрессивные правительства будут иметь более простой способ скомпрометировать эти связи.
Да, PPTP распространен и прост в настройке. Клиенты PPTP встроены во многие платформы, включая Windows. Это единственное преимущество, и это не стоит. Время двигаться дальше.
Резюме: PPTP является старым и уязвимым, хотя он интегрирован в общие операционные системы и легко настраивается. Держись подальше.

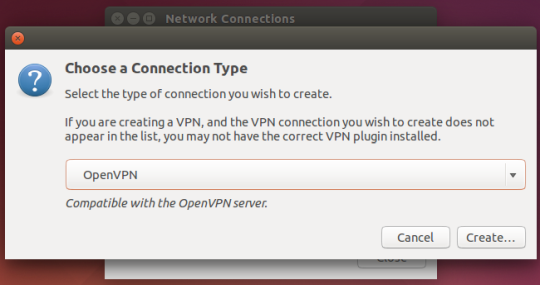
OpenVPN
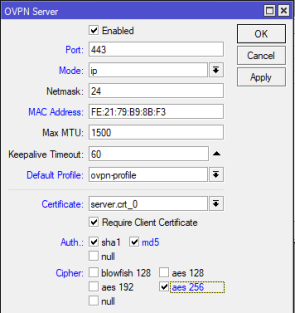
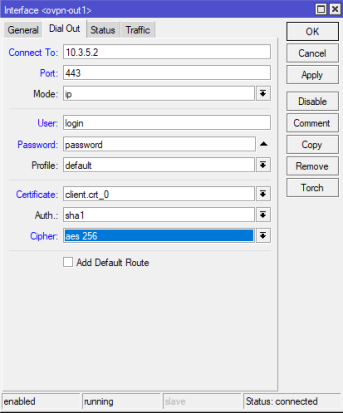
OpenVPN использует технологии с открытым исходным кодом, такие как библиотека шифрования OpenSSL и протокол TLS. Он может быть настроен для работы на любом порту, поэтому вы можете настроить сервер на работу через TCP-порт 443. Трафик OpenSSL VPN будет практически неотличим от стандартного трафика HTTPS, который возникает при подключении к защищенному веб-сайту. Это затрудняет полное блокирование.
Он очень настраиваемый и будет наиболее безопасным, если он настроен на использование шифрования AES вместо более слабого шифрования Blowfish. OpenVPN стал популярным стандартом. Мы не видели серьезных опасений, что любой (включая NSA) скомпрометировал соединения OpenVPN.
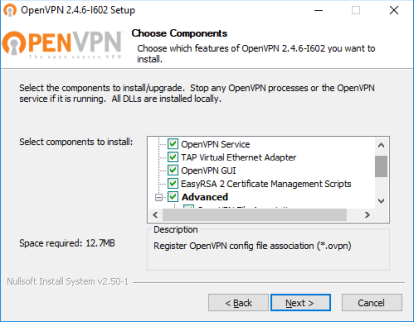
Поддержка OpenVPN не интегрирована в популярные настольные или мобильные операционные системы. Для подключения к сети OpenVPN требуется стороннее приложение — настольное приложение или мобильное приложение. Да, вы даже можете использовать мобильные приложения для подключения к сетям OpenVPN на iOS от Apple.
Резюме: OpenVPN является новым и безопасным, хотя вам потребуется установить стороннее приложение. Это тот, который вы, вероятно, должны использовать.

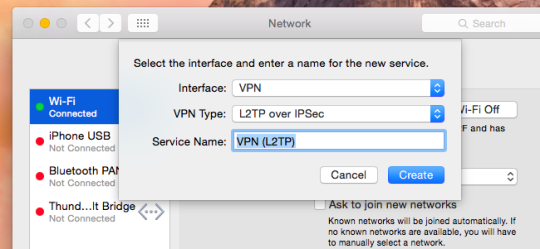
L2TP/IPsec
Протокол туннеля уровня 2 — это протокол VPN, который не предлагает никакого шифрования. Вот почему он обычно реализуется вместе с шифрованием IPsec. Поскольку он встроен в современные настольные операционные системы и мобильные устройства, его довольно легко реализовать. Но он использует порт UDP 500 — это означает, что он не может быть замаскирован на другом порту, например OpenVPN. Таким образом, намного проще блокировать и сложнее обойти брандмауэры.
Теоретически шифрование IPsec должно быть безопасным. Есть некоторые опасения, что NSA может ослабить стандарт, но никто точно не знает. В любом случае это медленнее, чем OpenVPN. Трафик должен быть преобразован в форму L2TP, а затем шифрование добавлено поверх IPsec. Это двухэтапный процесс.
Резюме: L2TP/IPsec теоретически безопасен, но есть некоторые проблемы. Его легко настроить, но проблема связана с брандмауэрами и не так эффективна, как OpenVPN. Придерживайтесь OpenVPN, если это возможно, но определенно используйте это через PPTP.

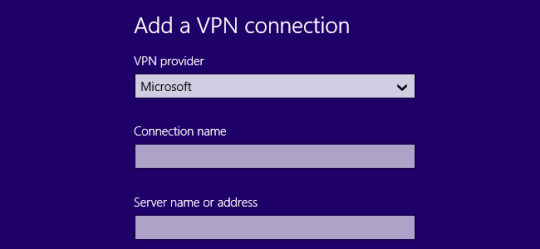
SSTP
Протокол туннелирования Secure Socket был введен в Windows Vista с пакетом обновления 1 (SP1). Это проприетарный протокол Microsoft и лучше всего поддерживается в Windows. Он может быть более стабильным в Windows, потому что он интегрирован в операционную систему, тогда как OpenVPN не является — это самое большое потенциальное преимущество. Некоторая поддержка для него доступна в других операционных системах, но она не так широко распространена.
Он может быть настроен на использование очень безопасного шифрования AES, что хорошо. Для пользователей Windows это, безусловно, лучше, чем PPTP, но, поскольку это проприетарный протокол, он не подлежит независимым аудитам, которым подвержен OpenVPN. Поскольку он использует TLS, такой как OpenVPN, он имеет схожие возможности обходить брандмауэры и должен работать лучше для этого, чем L2TP/IPsec или PPTP.
Резюме: это похоже на OpenVPN, но в основном только для Windows и не может быть проверено полностью. Тем не менее, это лучше использовать, чем PPTP. И, поскольку он может быть настроен на использование AES-шифрования, возможно, более надежный, чем L2TP/IPsec.
Заключение
Лучший вариант — OpenVPN. Если вам нужно использовать другой протокол для Windows, SSTP является идеальным выбором. Если доступны только L2TP/IPsec или PPTP, используйте L2TP/IPsec. Избегайте PPTP, если это возможно — если вам не обязательно подключаться к VPN-серверу, который разрешает только этот древний протокол.
2018-11-08T11:18:21
Вопросы читателей