Постройку ЛВС лучше начать с монтажа металлических лотков по коридорам, затем растянуть кабель и уложить в эти лотки, повесить распределительные шкафы и на последок оставить внутреннюю разводку помещений. У нас всё получилось наоборот. Лотки не успели привезти, а строить сеть торопили, и в результате первым делом был растянут кабель. 
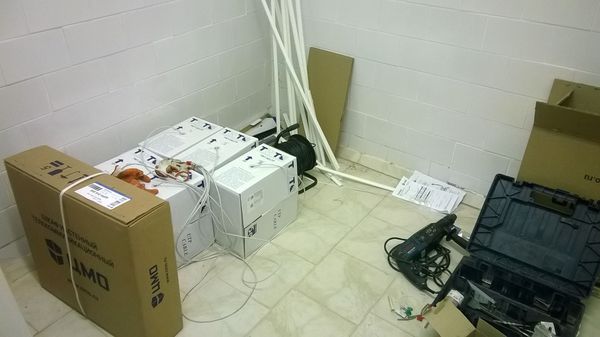
Кабель тащили из 5-6 коробок одновременно. Первостепенной задачей было растащить большие объемы кабеля по коридору до дверей каждого кабинета и оставить запас 8-10м для монтажа внутри кабинета. Из двух мест планируемого расположения РШ на одном этаже нужно было растащить по 25 линий витой пары длиной от 20 до 60м.
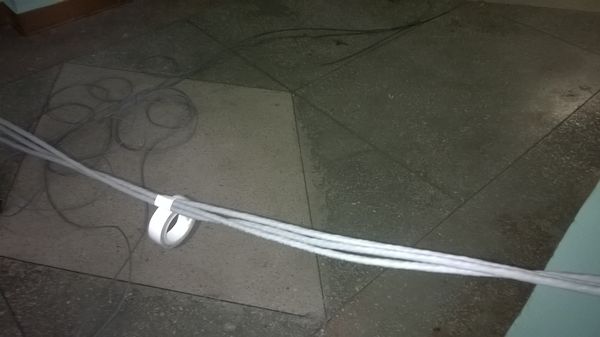
Если есть возможность, нужно разложить весь кабель по полу от РШ до мест назначения, точно отмерить длины и запас, затем весь жгут скрутить изолентой и затащить на потолок.

Каждый хвост обязательно нужно подписывать маркером иначе возникнет путаница. Путаница может возникнуть и сама-по себе : ) 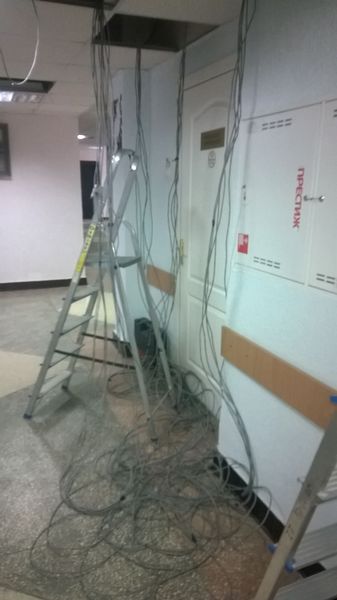
Длина каждой линии не должна превышать 100м, кабель без изломов и перекрутки. В процессе монтажа нужно придерживаться всех рекомендаций СКС. По временной схеме, пока не было лотков, кабель закрепляли в потолок дюбелями, либо привязывали к подвесам потолка.
Разобравшись за пару дней с кабелем до кабинетов, перешли к внутренней разводке.
В помещениях кабель можно проложить двумя способами:
в штробе стены 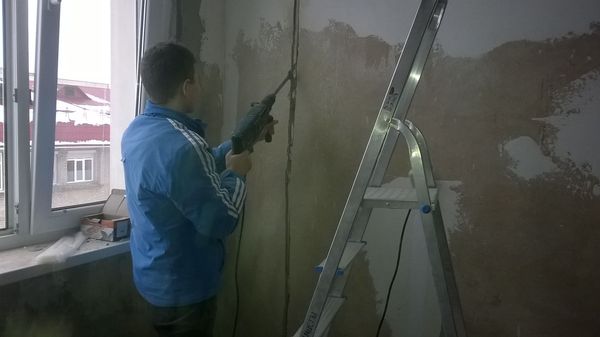
или в ПВХ кабельном-канале
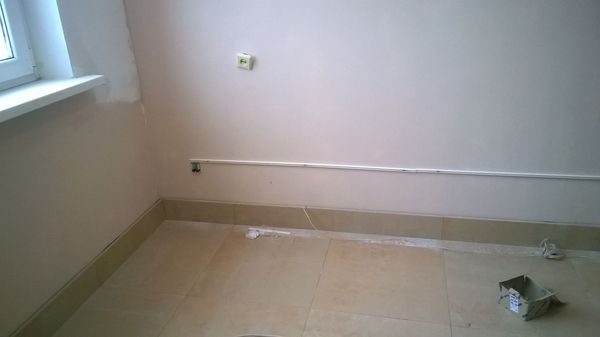
Всё зависит от состояния помещения и пожеланий заказчика. Если особых пожеланий нет, то затрачивать лишние усилия на штробу нет необходимость и сеть лучше вести наружным способом в кабельных каналах.
Кабельный канал для одного кабеля UTP 16х16мм, если в один канал нужно уложить 2-5 кабелей, то его размер должен быть 25х16мм. Как правило один кабель-канал длинной 2м. Он крепится к стене в трех местах дюбель-шурупами (дюбель-гвоздями) 6х40мм. Вести канал от входа в помещение к месту расположения компьютера можно как по верху стены, так и по низу. Спуски желательно делать по краям стен, чтоб они не сильно бросались в глаза.
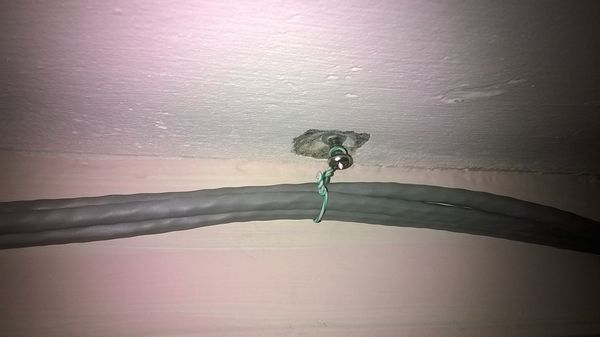
Ввод кабеля делается по возможности ближе к углу и верхней балке перекрытия. Как видно на фото ниже, в одном из таких мест неожиданно оказался электрический провод. Электрики были недовольны, но провод восстановили.
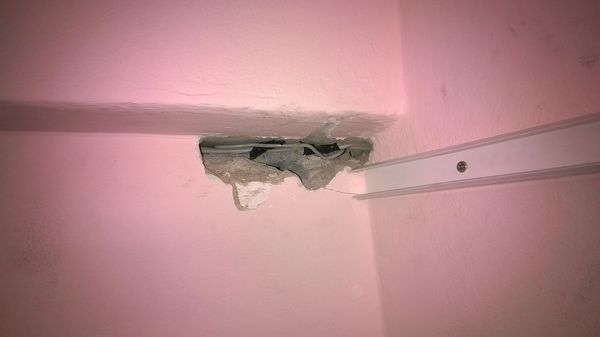
Чтоб не пробивать электрические провода в процессе сверления многочисленных отверстий необходимо иметь при себе прибор для определения проводки в стене или согласовывать трассу с электриками.
Для выполнения поворотов кабельного канала нужно использовать уголки.
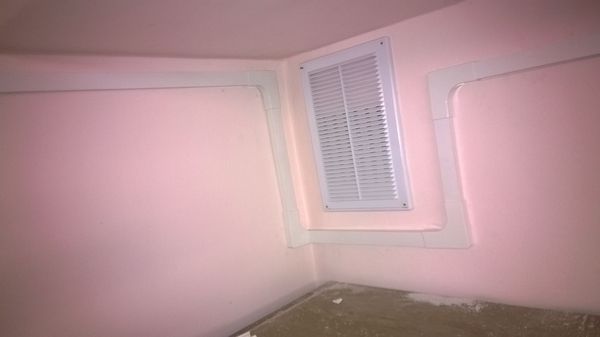
При больших объемах уголки сокращают время, к тому же с уголками внешний вид гораздо приятнее.
Заканчивать кабельный канал желательно заглушкой, которая так же служит для эстетических целей.
Укладываем в смонтированные каналы кабель, крепим розетку.
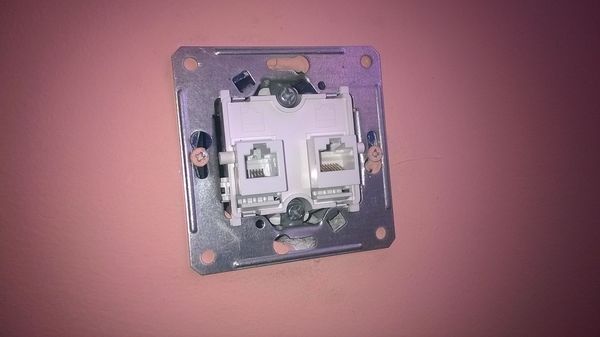
Компьютерная розетка может быть как наружной, так и внутренней. 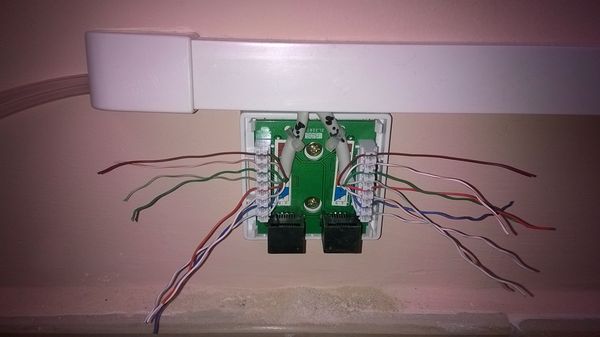
Для внутренней розетки нужно за ранее вырезать монтажное отверстие в стене. 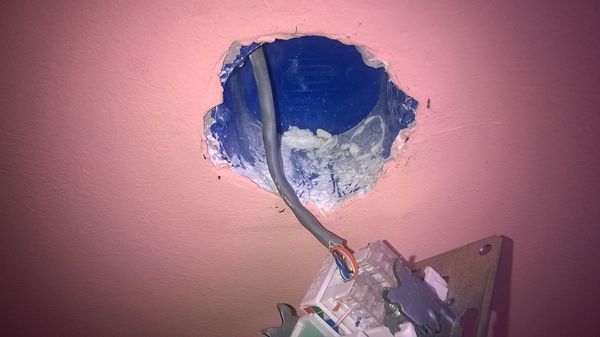
У наружной розетки должен быть свободный доступ к разъемам, чтоб плинтус снизу не мешал подключению кабеля.
Розетку расшиваем по такому же стандарту как и патч-панель в распределительном шкафу, например по стандарту «Б». Подписываем розетку черным маркером.
Смонтированный и расшитый с двух сторон линии кабель проверяем тестером витой пары.
Монтаж ЛВС в помещении закончен.
