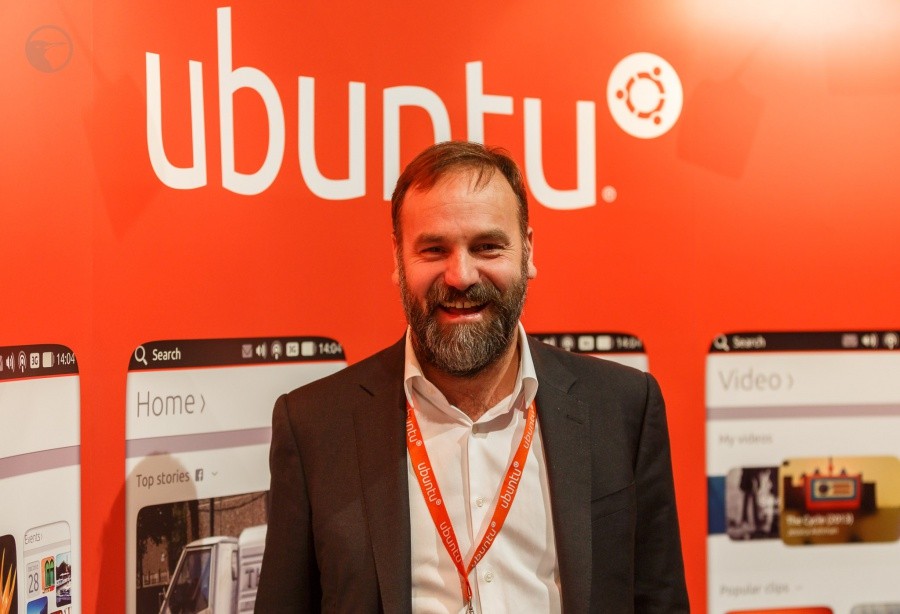
Марк Ричард Шаттлворт это основатель дистрибутива Ubuntu, а также человек который принимал активное участие в разработке Debian. Родился в 1973 году в Южной Африке. Он успешный предприниматель, а также второй космический турист, и первый гражданин Независимой Африканской Республики, который выходил в космос.
В 1996 году Марк основал компанию Thawte, областью ее деятельности была безопасность в интернет-коммерции. Это было в то время когда он учился в университете Кейптауна по специальности финансы и ИТ.
В 2000 Марк основал инвестиционную компанию, а также создал фонд Shuttleworth Foundation для финансирования социальных инноваций.
Мобильный рынок имеет решающее значение для будущего компьютеров. Например, в этом месяце стало ясно, что рынок традиционных ПК сокращается в пользу планшетов. Так что если мы хотим иметь отношение к компьютерам, мы должны быть актуальными в первую очередь для мобильных устройств. Мобильный рынок интересен еще тем что здесь нет пиратского Windows. Если вы получите устройство с определенной операционной системой, она так и останется вашей операционной системой. На персональных компьютерах мы постоянно конкурируем со «свободной Windows», которая может выполнять несколько уникальных задач. Таким образом, наша сегодняшняя цель — сосредоточить усилия вокруг Ubuntu для телефонов и планшетов, где мы можем стоить более глубокие отношения с потребителями. — Марк Шаттлворт
В 2002 он полетел на Международную космическую станцию в качестве члена экипажа миссии Союз ТМ-34, после года обучения в Звездном городке в России. Затем после запуска кампании по продвижению науки, программирования и математики для обучающихся астронавтов и остальных желающих в школах Южной Африки, Марк основал Canonical Ltd и до 2013 управлял процессом разработки операционной системы Ubuntu.
Сегодня у Шаттлворта есть двойное гражданство Соединенного Королевства и Южной Африки. Живет он среди прекрасных диких уток и ботанических садов остова Мэн. В окружении своей прекрасной подруги Клєр, двух черных собак и восемнадцати уток.
Компьютер уже не просто устройство. Это продолжение ваших мыслей и ваша связь с другими людьми
Ранняя жизнь Марка Шаттлворта
Как мы уже говорили, родился Марк Шаттлворт в городе Велком, Южноафриканском свободном государстве, в семье хирурга и воспитательницы детского сада. В начальной подготовительной школе он был старостой, затем в 1986 году пошел в школу Rondebosch Boys’ High School, а потом в 1991 году в Bishops/Diocesan College, где опять же был старостой.
После завершения колледжа Марк получил степень Бакалавра экономических наук в области финансов и информационных систем в университете Кейптауна. Жил он в то время в Smuts Hall и был одним из студентов кто работал над установкой одножильных интернет-соединений в своем университете.
Есть много примеров компаний и стран, которые улучшили свою конкурентоспособность и эффективность, использовав стратегии открытого исходного кода. Распространение знаний на всех уровнях имеет фундаментальное значение для обеих компаний и стран. — Марк Шаттлворт
Карьера Марка Шталворта
Марк основал компанию Thawte в 1995 году, которая специализируется на цифровых сертификатах и интернет-безопасности, а затем в 1999 продал ее VeriSign, заработав около $575 миллионов долларов.
В 2000 году Марк создал HBD Venture Capital — компанию для поддержки стартапов и предоставления начального капитала. В 2004 году он сформировал Canonical Ltd, для продвижения и коммерческой поддержки проектов по разработке свободного программного обеспечения и особенно операционной системы Ubuntu. В 2009 году Марк ушел с поста генерального директора компании Canonical Ltd.
В первые дни DCC я предпочитал чтобы люди делали свою работу до конца, а затем мы могли посмотреть как это работает. Теперь мы очень близки к завершению — Марк Шаттлворт
Марк Шаттлворт и Linux
В конце девяностых Марк был одним из разработчиков операционной системы Debian.
В 2001 году он основал Shuttleworth Foundation. Это некоммерческая компания, которая занимается социальными инновациями, а также финансирует бесплатные образовательные проекты и открытое программное обеспечение в Южной Африке, в том числе и Freedom Toaster.
В 2004 году Марк вернулся в мир свободного программного обеспечения путем финансирования разработки операционной системы Ubuntu — дистрибутива, основанного на Debian.
В 2005 году Шаттлворт создал Ubuntu Fundation и сделал первоначальный вклад в размере 10 миллионов долларов. Чтобы отобрать людей, которые будут работать над этим проектом, Марк взял с собой архивы рассылок Debian за шесть месяцев в путешествии к Антарктиде на ледоколе Капитан Хлебников в 2004 г. В 2005, Марк купил 65% акций из Impi Linux.
«Я призываю телекоммуникационных регуляторов разработать коммерческую стратегию для обеспечения эффективного доступа к материку.»
— Марк Шаттлворт
В 2006 было объявлено что Шаттлворт стал первым покровителем KDE, в которое в то время вкладывалось много спонсорских ресурсов. Это меценатство прекратилось в 2012 году, вместе с финансовой поддержкой Kubuntu, дистрибутива, основанного на Ubuntu с рабочим столом KDE.

В 2009 году Шаттлворт заявил что уйдет в отставку с поста исполнительного директора Canonical, чтобы сосредоточить больше энергии на партнерстве, дизайне продукта и пользователях. Потом пост СЕО занял Джейн Зильбер, занимавший раньше пост главного операционного директора в Canonical с 2004.
В 2010, Марк получил почетную степень от Open University за его работу.
В 2012 году, Марк и Кеннет Рогофф приняли участие в дебатах против Питера Тиль и Гарри Каспарова в оксфордском союзе. Эта дискуссия называлась «Инновационная Энигма».
В 2013 году, Марк и Ubuntu были удостоены антипремии Big Brother Awards, за отправку данных поиска в Dash на сервера Canonical по умолчанию. Еще год назад в 2012 Марк защищал методы анонимизации, которые он использовал.
Все основные компьютерные компании сейчас выпускают компьютеры с предустановленной Ubuntu. Поэтому мы имеем очень солидный набор заданий для работы. Но эти компьютерные компании не решаются предоставить что-то новое своим покупателям. Если мы сможем поставлять пользователям Ubuntu предустановленной на планшетах и телефонах, они будут готовы покупать ее также на ПК. Потому что еще не удалось создать успешную ОС подражая другой ОС. Android это хорошо, но мы должны принести что-то новое, лучшее на рынок.
Марк Шаттлворт в космосе
Марк Шаттлворт получил мировую известность в 2002 году, став вторым само финансируемым космическим туристом, и первым космическим путешественником из Южной Африки. Полет через компанию Space Adventures осуществлялся на борту российского Союза ТМ-32. Марк заплатил за этот рейс $20 миллионов долларов.
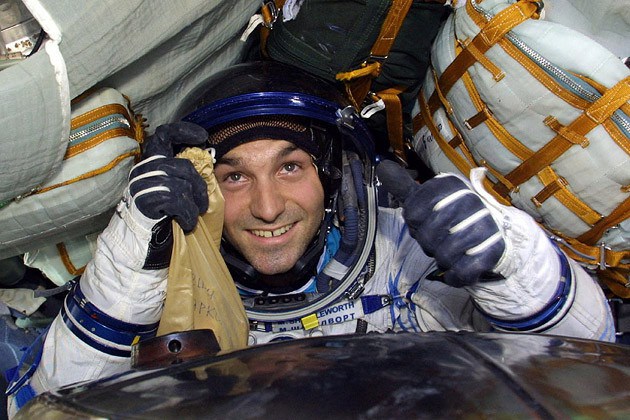
Космический корабль Союз прибыл на международную космическую станцию, где Марк провел 8 дней, участвуя в экспериментах, связанных с СПИДом и изучением генома. Вернулся на землю Марк на корабле Союз-33. Для того чтобы участвовать в этом полете Марк должен был пройти год обучения, в том числе семь месяцев в Звездном городке в России.
Пребывая в космическом пространстве, Марк и Нельсон Мандела разговаривали по радио с южноафриканской девушкой по имени Мишель Фостер, которая предложила Марку жениться на ней. Конечно, Марк вежливо уклонился от ответа на этот вопрос, но перед тем, как ловко сменить тему, сказал что это для него большая честь. Беседа с неизлечимо больной Фостер была организована фондом Reach for a Dream.
«Цифры свидетельствуют, что доля Ubuntu продолжает расти среди обычных пользователей. И наши аппаратные партнеры Dell, HP, Lenovo, и игровые компании: EA, Valve, заставляют меня чувствовать, что мы работаем в правильном направлении.»
— Марк Шаттлворт
Транспорт Марка Шаттлворта
У Марка есть свой частный самолет, Bombardier Global Express, который часто называют Canonical One. Но на самом деле он принадлежит HBD Venture Capital Company. Дракон, изображенный на одном из боков самолета, это талисман компании.
Юридические столкновения с резервным банком Южной Африки
После перемещения 2,5 миллиарда долларов из столицы Южной Африки на остров Мэн резервный банк Южной Африки постановил сбор 250 миллионов для освобождения активов Марка. Марк обратился в суд и после длительного судебного процесса банк отменил сбор. Шаттлворт заявил что пожертвует всю сумму на то, чтобы помочь другим решать дела в Конституционном суде.
«Перевод капитала не противоречит конституции. Главная цель — не повышать доход, а регулировать, препятствуя вывозу капитала, чтобы защитить отечественную экономику».
— Судья Dikgang Moseneke
Что нравится Марку Шаттлворту
Cesária Évora, музыка, Весна, Челси, замечать что-то обыденное в первый раз придя домой, Синатра, мечтать, Sundowners, флирт, d’Urberville, теория струн, Linux, физика элементарных частиц, Python, МИГ-29, снег, путешествия, Mozilla, мармелад, Африканский Буш, леопарды, Раджастан, российские сауны, сноуборд, невесомость, широкополосный доступ, Аластер Рейнольдс, купание, дайвинг, вспышки прозрения, адреналин эйфории, необъяснимое, кабриолеты, Клифтон,просёлочные дороги, Международная космическая станция, искусственный интеллект, Wikipedia, Slashdot, кайт серфинг и дорожки на острове Мэн.
Что не любит Марк Шаттлворт
Администрирование, переговоры о зарплатах, юридический язык.
Перевод: http://www.unixmen.com/mark-shuttleworth-man-behind-ubuntu-operating-system/