В этой главе мы рассмотрим, как добавлять страницы в WordPress. Добавление страниц похоже на добавление постов в WordPress. Страницы со статичным содержанием и зачастую не меняют отображаемую информацию.
Ниже приведены простые шаги, для добавления страницы в WordPress.
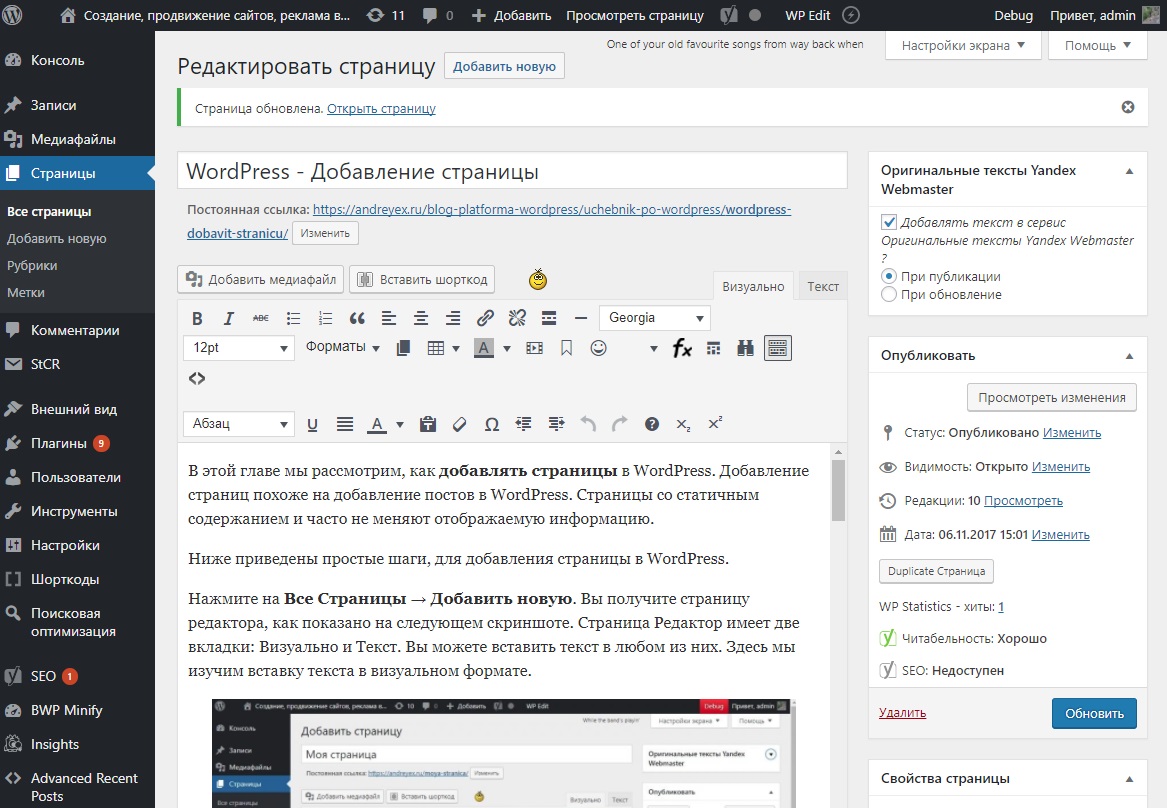
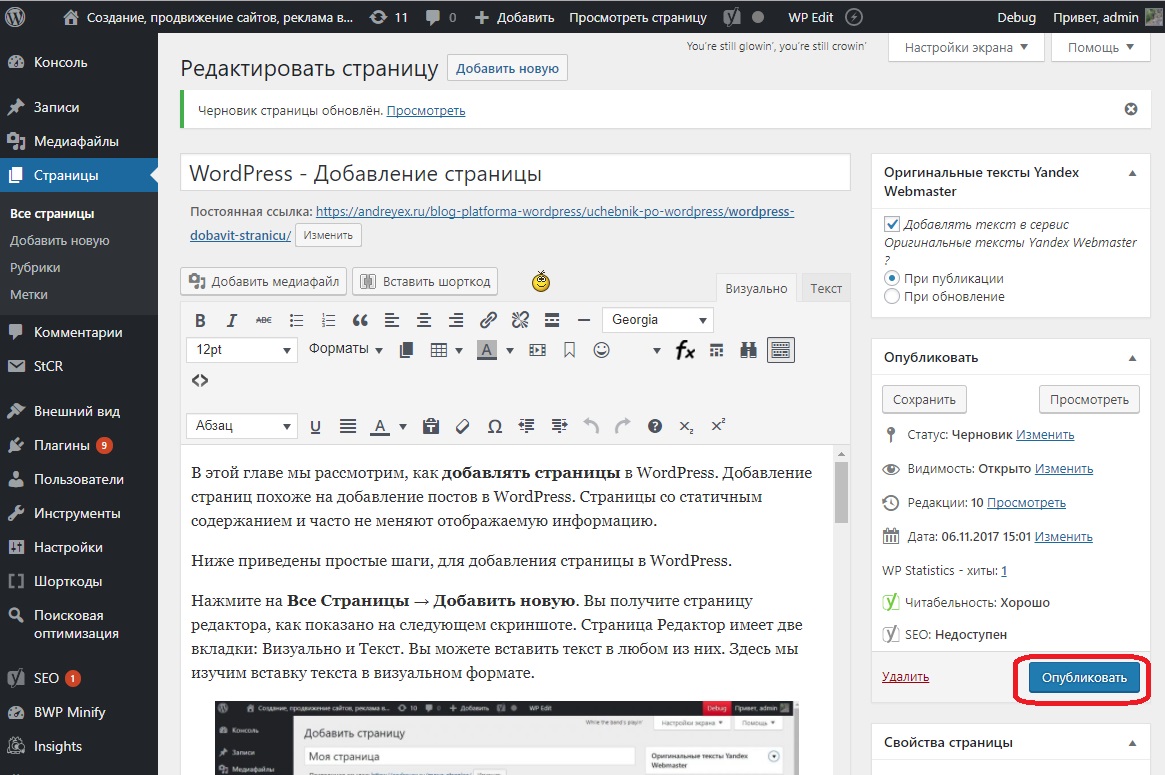
Нажмите на Все Страницы → Добавить новую. Вы получите страницу редактора, как показано на следующем скриншоте. Страница Редактор имеет две вкладки: Визуально и Текст. Вы можете вставить текст в любом из них. Здесь мы изучим вставку текста в визуальном формате.

Ниже приведены подробные сведения о полях на странице редактора при Добавлении новой странице.
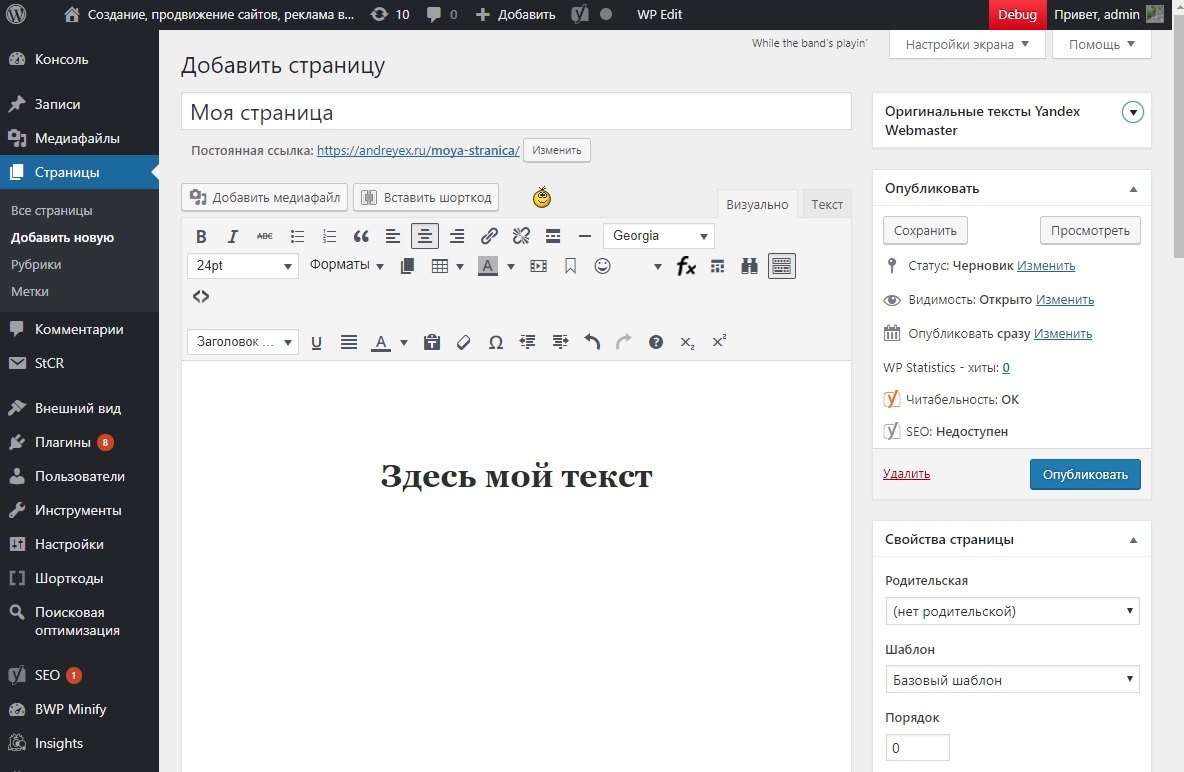
Заголовок
Он используется, чтобы написать название статьи, которое впоследствии отображается на странице.
Ссылка показывает потенциал URL для страницы под заголовком. URL-адрес генерирует в соответствии с указанным заголовком.

Редактор WYSIWYG
Редактор WYSIWYG похож на процессор интерфейса слов, где вы можете отредактировать содержимое этой статьи.

В редакторе WYSIWYG присутствуют следующие кнопки:
- Абзац — Выбирает заголовки, которые требуются для текста из выпадающего списка.
- Жирный — Используется для выделением жирным вашего шрифта.
- Курсив — Используется для наклонного шрифта.
- Перечеркнутый — Перечеркнутый текст.
- Маркированный список — добавляет точку к списку содержимого.
- Нумерованный список — Добавляет номера в список содержимого.
- Цитата — цитирует текст.
- По левому краю — Выравнивает содержимое по левому краю страницы.
- Выровнять — Выравнивает содержимое страницы.
- По правому краю — Выравнивает содержимое в правому краю страницы.
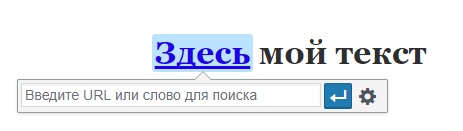
- Вставить/изменить ссылку — добавляет ссылку на контент. При нажатии на эту кнопку, отображается поле для ввода URL или слова поиска.

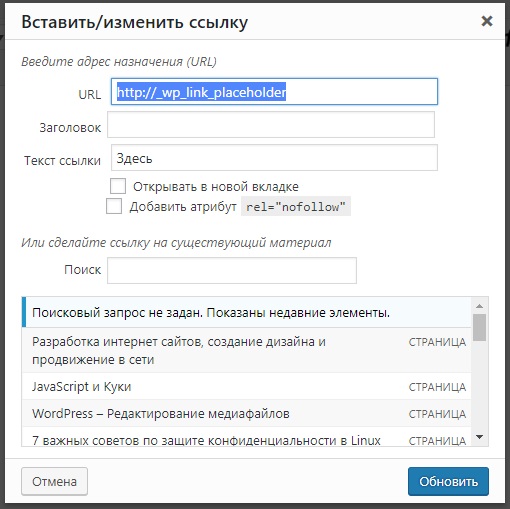
При нажатии по кнопке Настройка ссылки, откроется следующее окно:
 Ниже приведены поля, присутствующие окне «Вставить/Изменить ссылку».
- URL — Введите URL, который вы хотите связать.
- Заголовок — Вставьте заголовок для ссылки.
- Текст ссылки — Ввод текста на который ставиться ссылка.
- Поиск — Поиск страницы или поста для ссылки.
- Удалить ссылку — Удаляет конкретную ссылку добавленную для текста или содержания.
- Вставить тег «далее» — Разделение страницы на несколько.
- Показать/Скрыть панель инструментов — Открыть дополнительных кнопок для редактирования текста.
- Перечеркнутый — перечеркивает выделенные буквы.
- Горизонтальная линия — Создает горизонтальную линию между предложениями.
- Цвет текста — Задает цвет для слов или фраз.
- Вставить как текст — Вставляет как текст.
- Очистить форматирование — удаление выбранного содержимого.
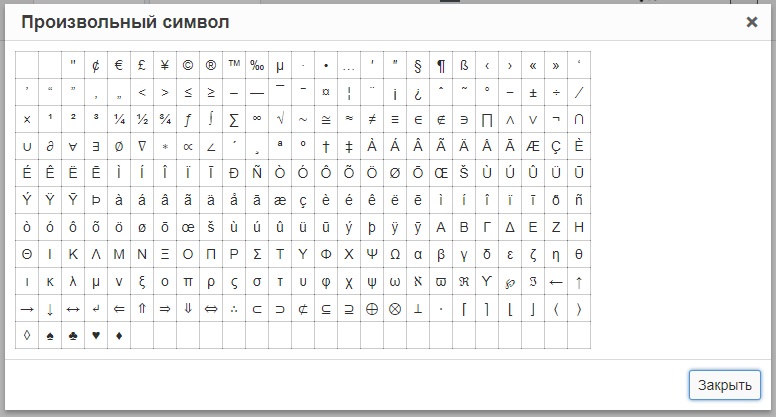
- Специальный символ — Вставка специальных символов, необходимых в посте.

- Увеличить отступ — Увеличивает отступ страницы.
- Уменьшить отступ — Уменьшает отступ страницы.
- Отменить — Отменяет последнюю команду редактирования.
- Повторить — Восстанавливает самую последнюю команду редактирования.
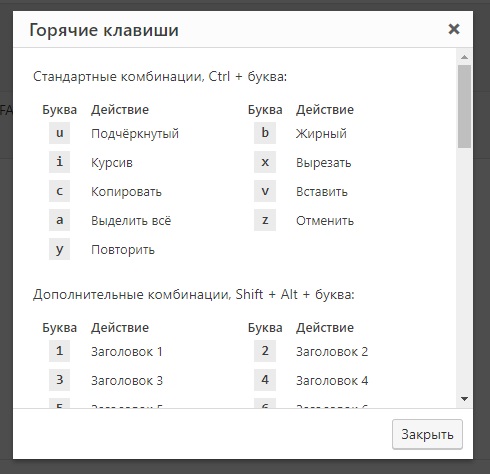
- Горячие клавиши — Откроет страницу с комбинациями горячих клавиш:

Опубликовать
Для публикации страницы на сайте.
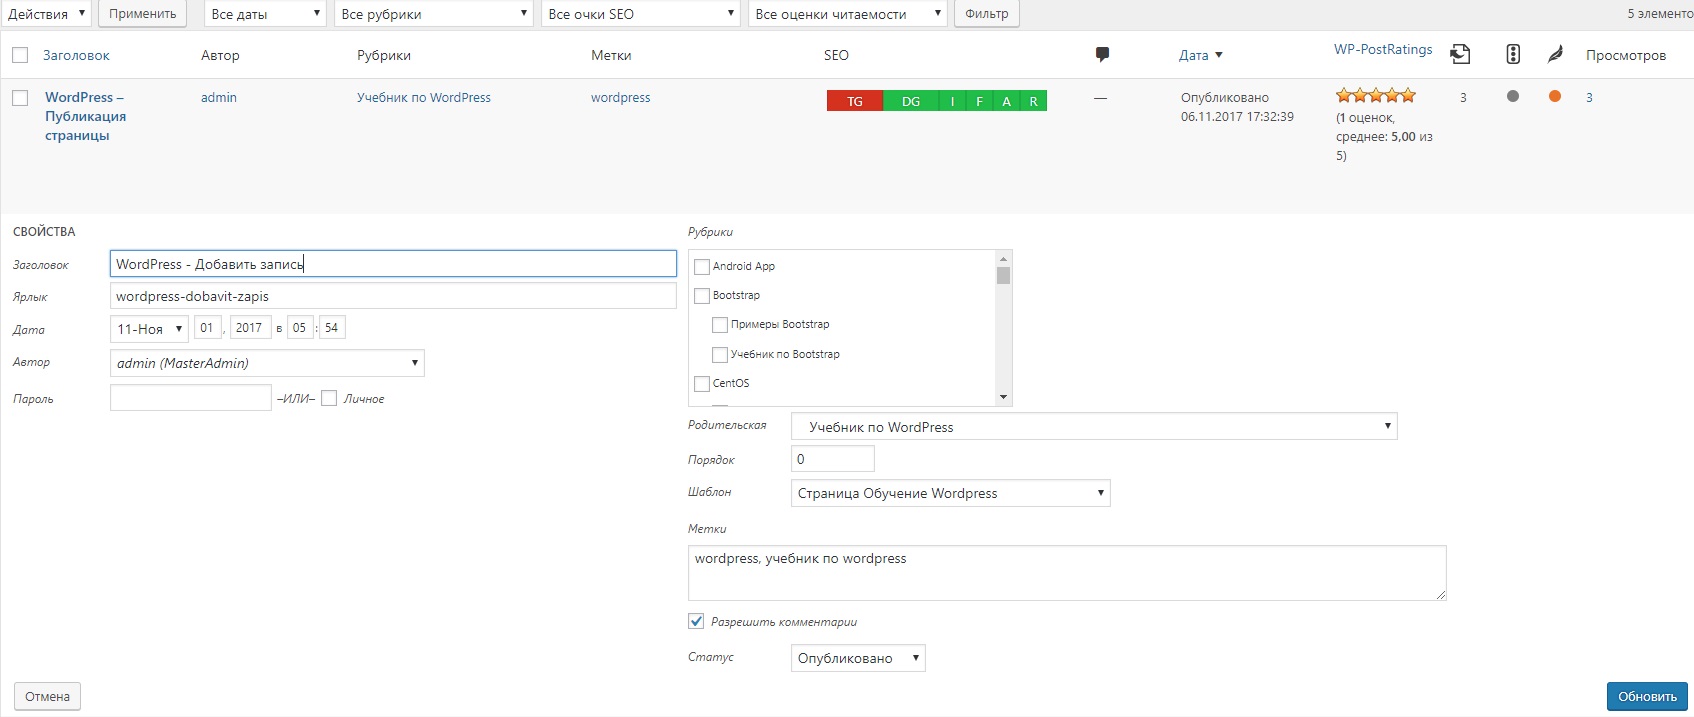
Свойства страницы
Вкладка свойства страницы позволяет выбрать родителя для конкретной страницы и шаблон для страницы. Вы можете также установить порядок страниц.
- Родительская — Позволяет выбрать родительскую страницу.
- Шаблон — Позволяет выбрать шаблон для страницы из выпадающего списка.
- Порядок — Устанавливает порядок страницы.

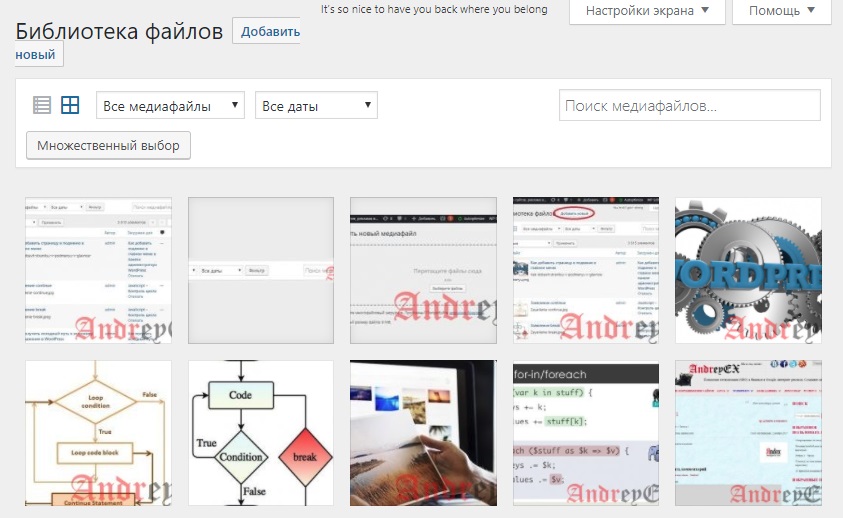
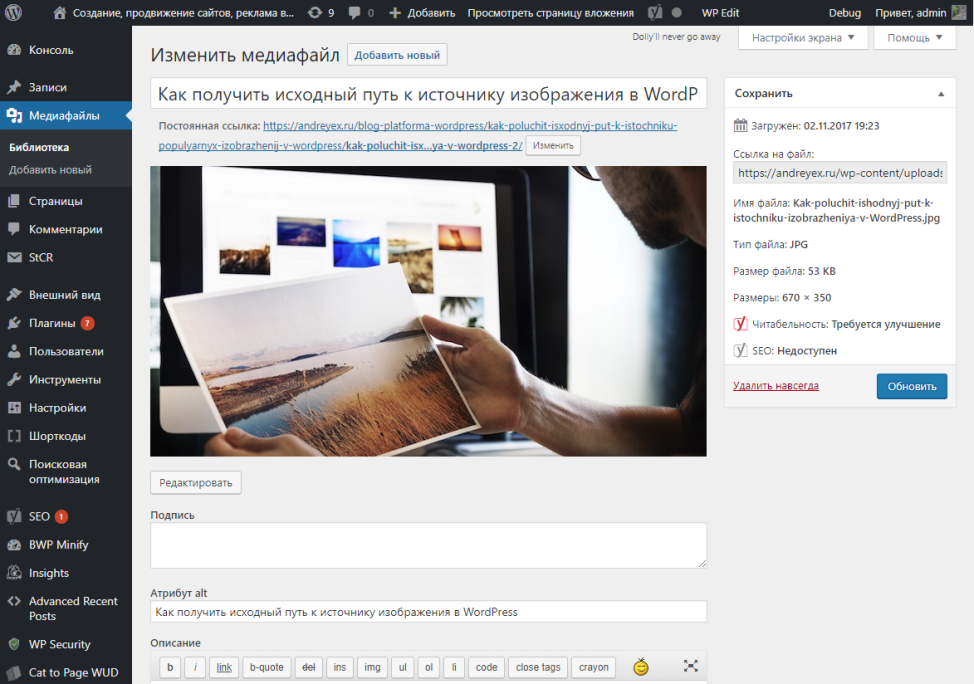
Изображение страницы
Включает в себя изображения на странице. Вывод изображение на странице и в списке блога настраивается в теме WordPress.
2017-11-06T15:01:50
Учебник по WordPress